On this latest suit, I decided to try a German draft that Schneidergott translated for me from the Rundschau. I made a few minor changes to the draft itself, had quite a bit of fitting in the seat to do, but otherwise a rather painless fitting process. The balance of the rear of the leg is different from my usual draft and I find it hangs straighter with less fuss and manipulation. Observe the stripes along the side seam between this trouser and the previous one- you will notice some of the difference in the cut. But this is draft definitely a keeper. Thanks SG!
A little clarification- by draft, I do not mean a pre-made pattern, but a set of instructions for drafting according to one's measurements. It is understood that the cutter will adjust the instructions according to the customer's posture and stylistic choices.
At Jordan's suggestion (IIRC) I did away with the rear pockets, but I'm not crazy about the look of it, even though it saves me time.
Tomorrow I'll try to find buttons, press the vest and coat, and get some more photos up.
Rundschau side seam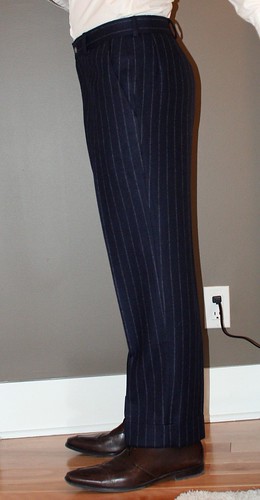
"My" side seam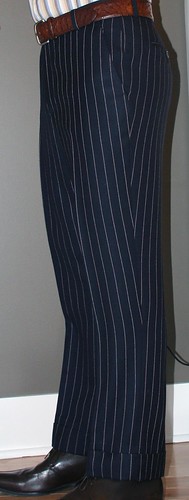
Now to answer a few questions-
Dukemati- Thank you! Actually, the draft dates to 1954. So recent More recent than some but less recent than others.....
Karen-
And thank you, as well. The knee is a little fuller than my usual draft, in the back only (about 3/4") but that's it. It's the way the seat angle is pitched relative to the rest of the leg that is a little different, as evidenced by the stripes being more straight down the outside of the leg but continuing to taper to the hem. I cut this knee more tapered than the original Rundschau draft, which is quite straight- the draft provides an almost straight line from fork to hem; I prefer to taper from the fork to the knee and then almost straight from the knee to the hem but that requires more ironwork than the original draft would.
In response to Jem's questions, I am pleased that you enjoy the blog and you can find a tutorial on making the flannel flower here. Unfortunately my schedule does not permit me to take on new clients right now, however the occasional flower is not out of the question :)