Friday, January 8, 2010

Saint Andrews

A busy post box this week. A parcel came yesterday and today a notice that the post office is holding one; I'm hoping it's the A&S I've been waiting for. In the meantime, I give you Saint Andrews. Thanks to HRoi for getting it here so quickly!
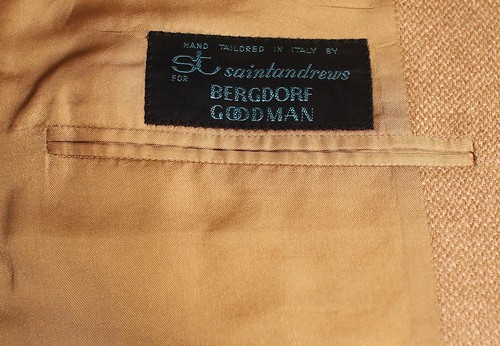
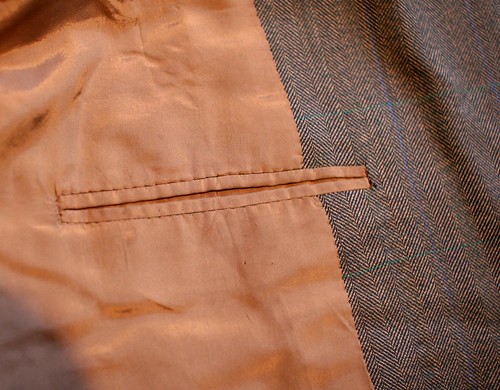
inside pocket

Also known as Saint Andrews, Sartoria Santandrea produces garments for a number of better doors but is not so well known in North America except perhaps by fans of Ralph Lauren's Purple Label, as Santandrea produces some of their tailored clothing (perhaps all? at one point Cantarelli also did some).

There's not a lot to learn from this garment but for the sake of those who are trying themselves who makes a better garment, let's have a look at some of the details.

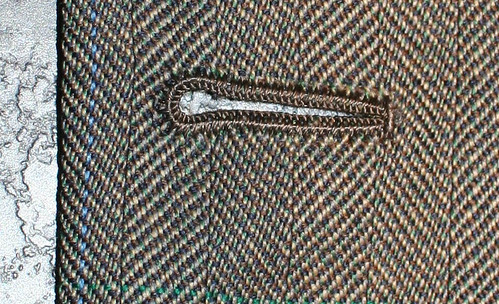
The buttonholes are very nice (naturally, they are done by hand) and the top buttonhole (the one that is meant to be buttoned, not the boutonniere) has been worked on both sides.
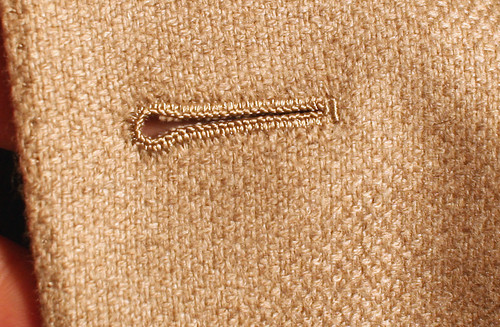
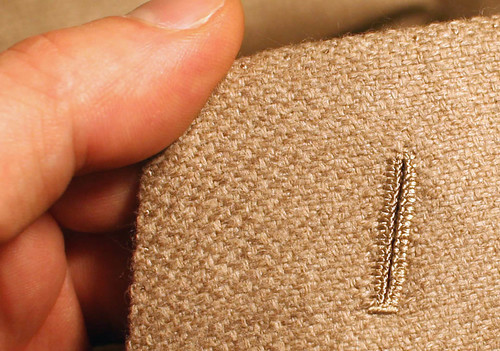
buttonhole

boutonniere

The back of the buttonhole

buttonhole backside

Something interesting.

If you go to their site and go to "lavorazione", then "asole" you see someone making a buttonhole by hand. If you look closely you can see that the buttonhole has been whip stitched before making it (which is typical), but the stitches are very close together, which raised a flag. I have mentioned before that certain well-known Neapolitan makers make their buttonholes by machine with fine thread first then work them again by hand. A friend of mine who worked for a company which does it told me about this, saying it was much easier to get consistency in the cutting of the hole, and because it was all stitched up first, which is stronger than a hand stitch. It made the buttonholes much easier to make. We were talking about this because I was looking for gimp alternatives and he told me that by doing this, no gimp is necessary. As open-minded as I like to think I am about machines, this was one line I was not willing to cross.

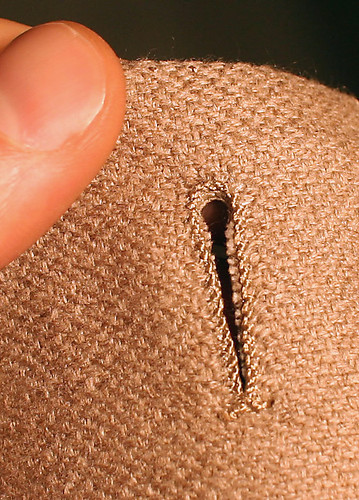
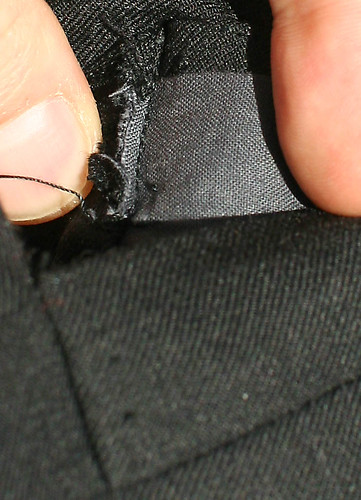
Anyway, back to Santandrea. Having seen that photo on their site I got curious so I ripped one of the (admittedly beautiful) buttonholes and found one little strand of silk twist, which is usually not nearly enough to gimp a buttonhole. Under my big magnifying glass, though, I could just make out an extremely fine thread and a distinct machine stitch (a tiny zig-zag which maybe you can make out in the photo). They had been worked and cut by machine before being remade by hand over top. My mind still rebels, but it does make sense for the longevity (no slippage in loose cloth, which is sometimes a problem) and it does make a nice buttonhole. Something to think about......
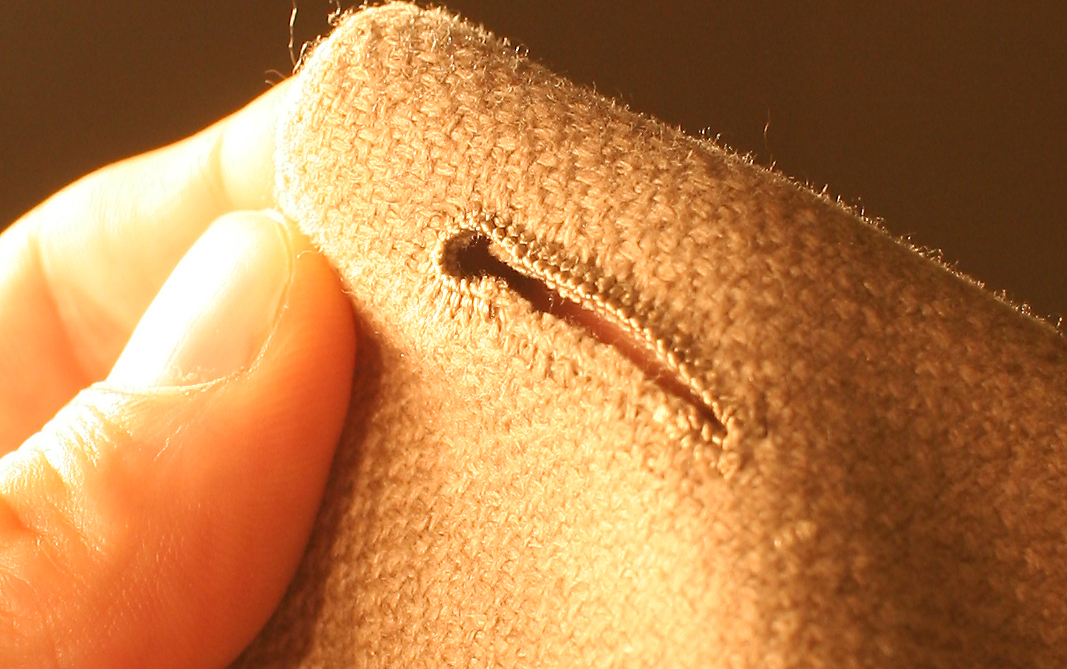
buttonhole  underneath

Anyway, back to the garment.

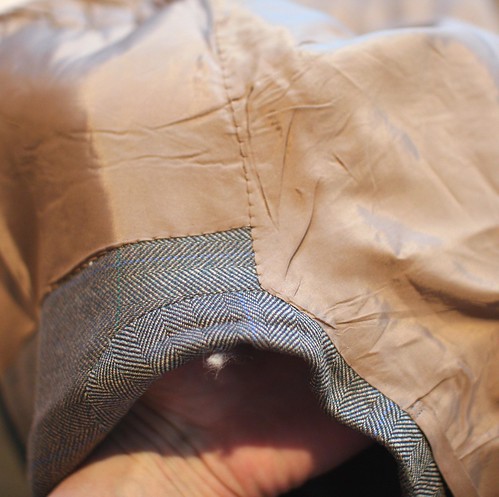
Shamholes done by hand on the sleeve
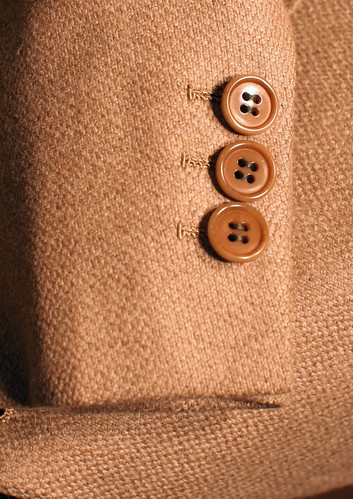
sleeve

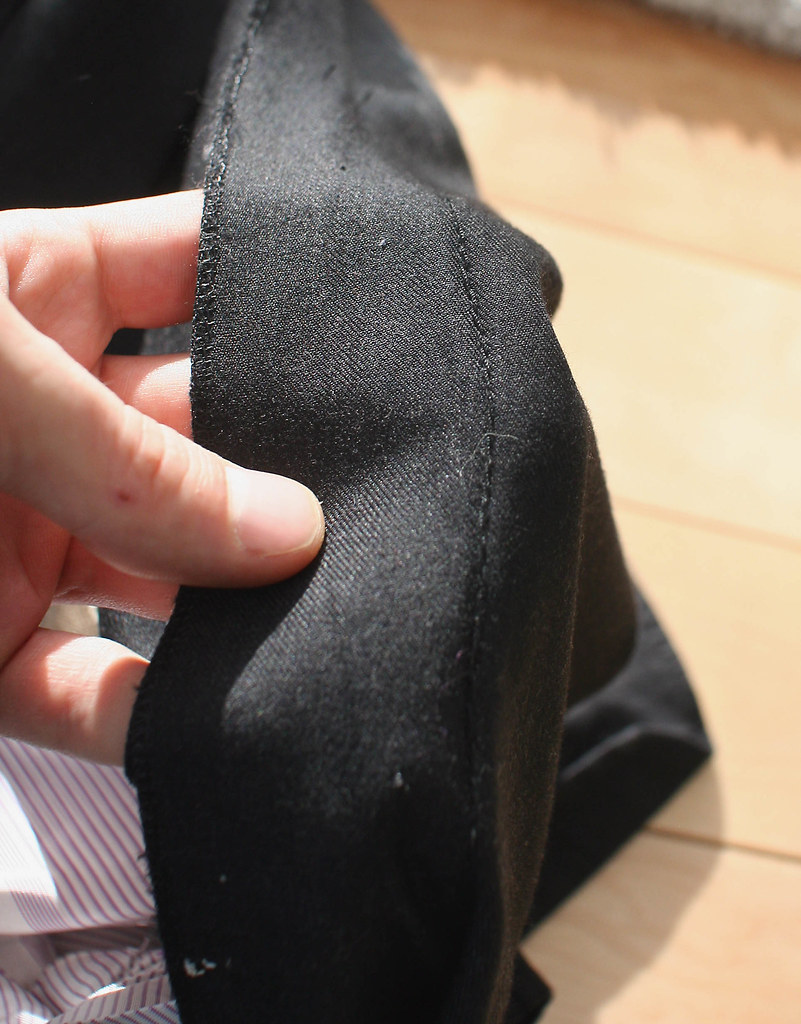
However the inside of the sleeve has been finished for functional buttonholes.

sleeve inside

The underside of the flap shows that the pick stitching was done by hand in a slightly heavier silk thread than the English use- the English use a very fine thread so that it is very discreet whereas the Italians like it to be a little more showy. But not much. The little prick marks about 1/4" form the edge are from an edge baster- instead os basting edges by hand which is actually a little uneven and can produce a slightly wobbly looking edge, we use a single-thread chainstitch machine to baste the edges during production. The chainstitch is very easy to remove before final pressing.
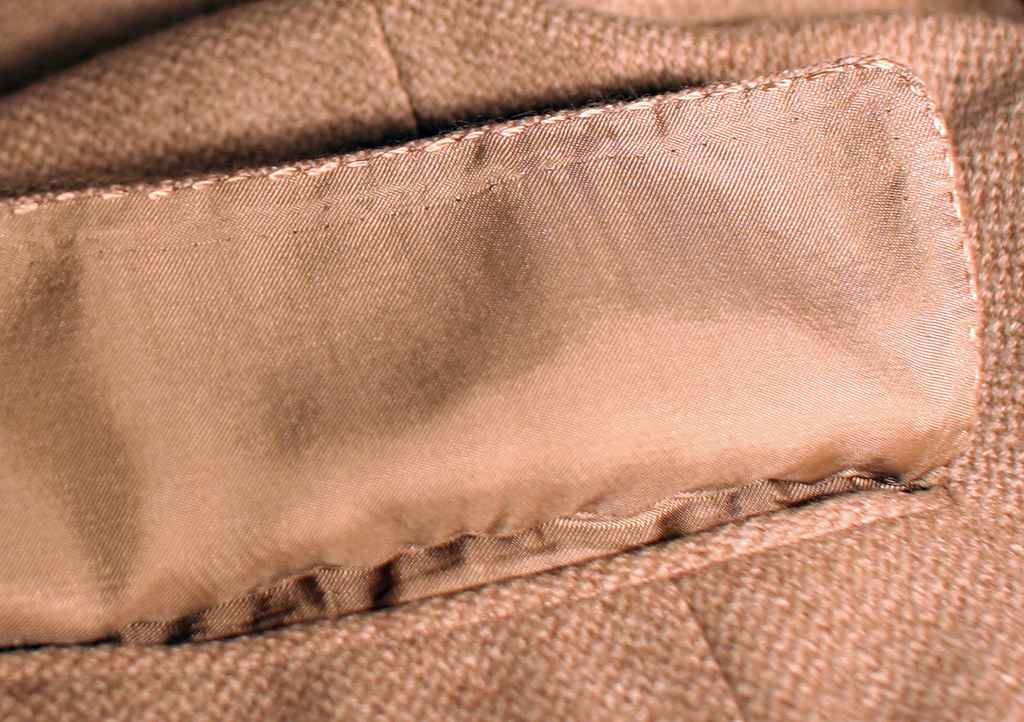
flap

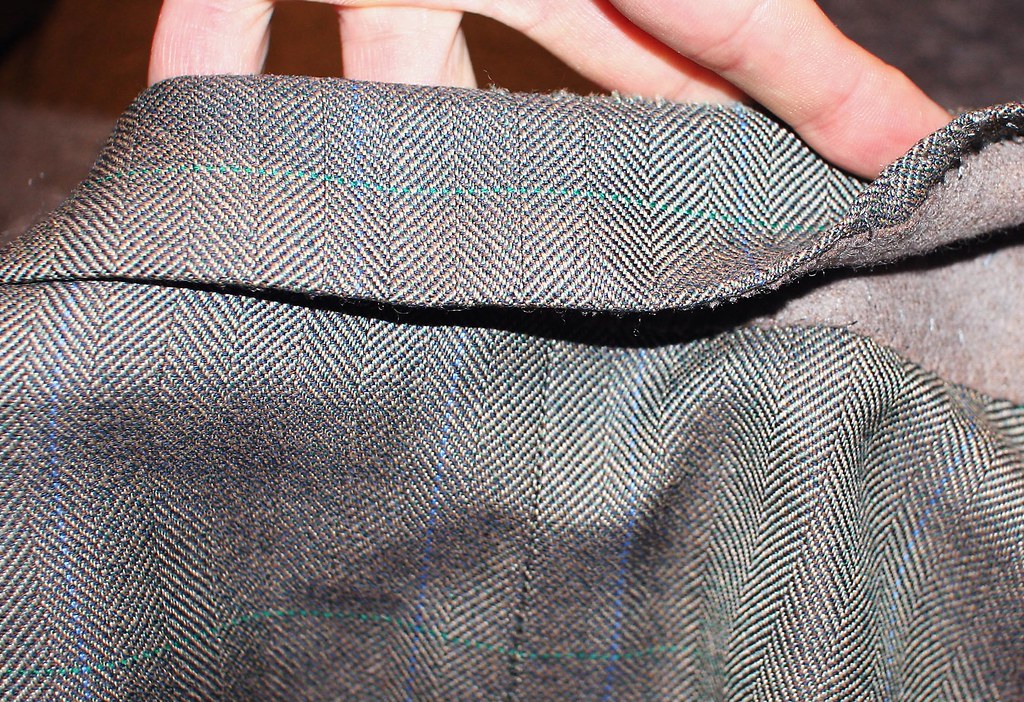
The neck has all been finished by hand and the top collar has been drawn on completely by hand.
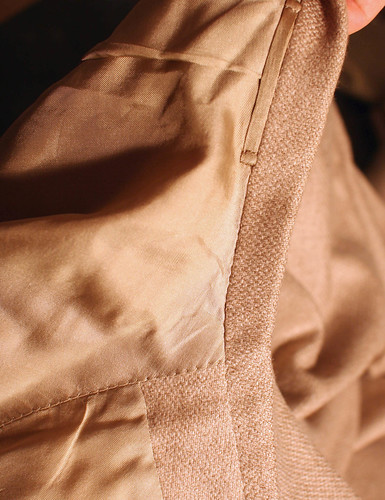
neck

The collar itself has been constructed by hand (though padded by machine) note that there is no turnback at the end of the collar.
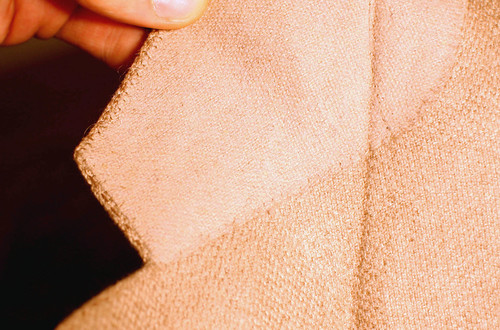
undercollar

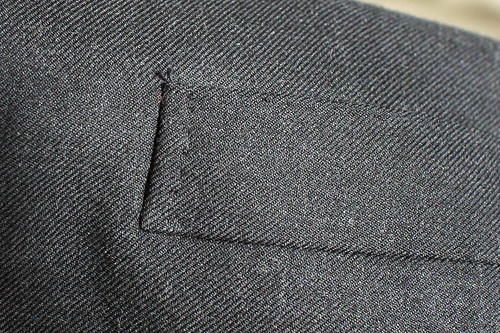
The breast pocket is the curved "barchetta" type and is done by hand, the same way I learned to do them, as opposed to the way I recently learned to do them thanks to Huntsman and Jukes.
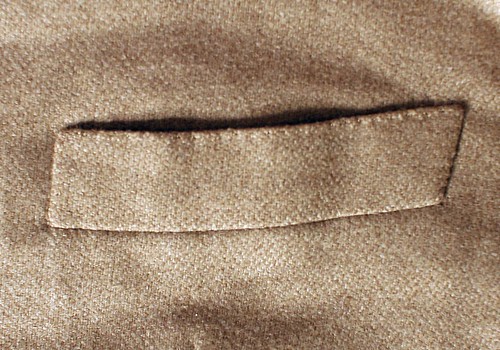
barchetta

Notice there is no exposed seam allowance inside the breast pocket and it has been felled by hand, not by machine.
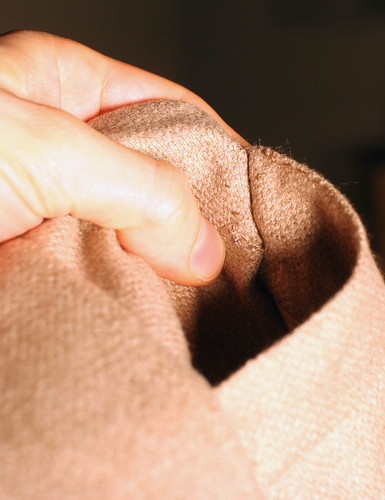
inside barchetta

A moderate amount of wadding in the sleeve head and a moderate pad- more than Poole, about the same as Huntsman, a little less than Brioni.
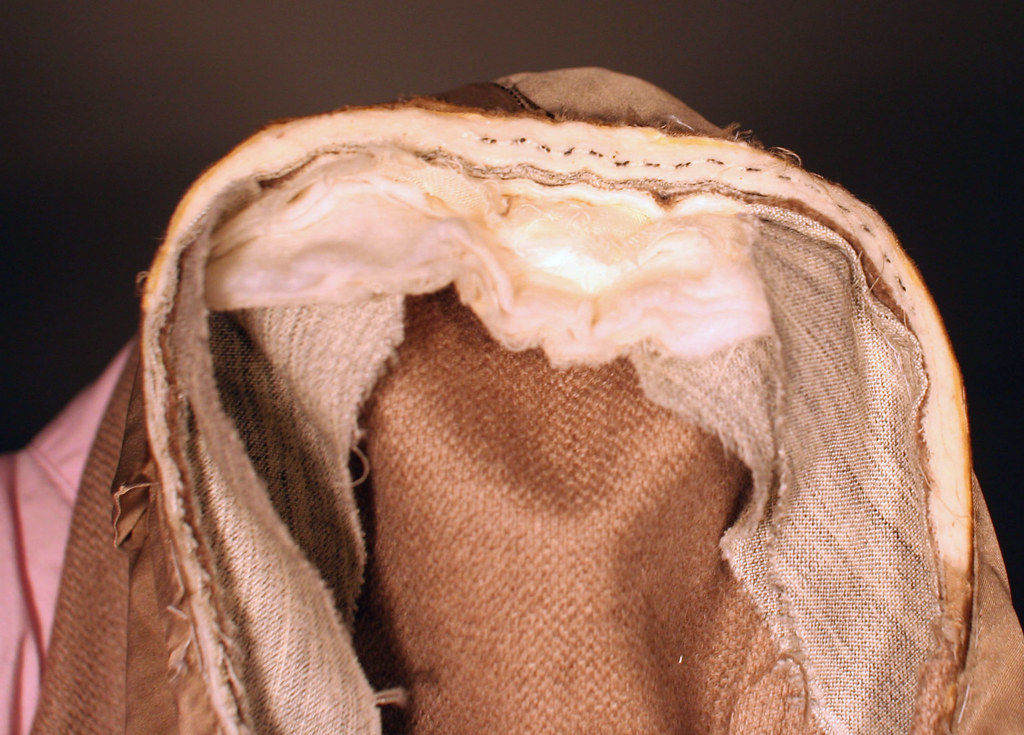
sleeve wadding

The canvas holds no surprises, though it has been made with a zig-zag machine as opposed to the twin-needle jumpstitch machine that I prefer.
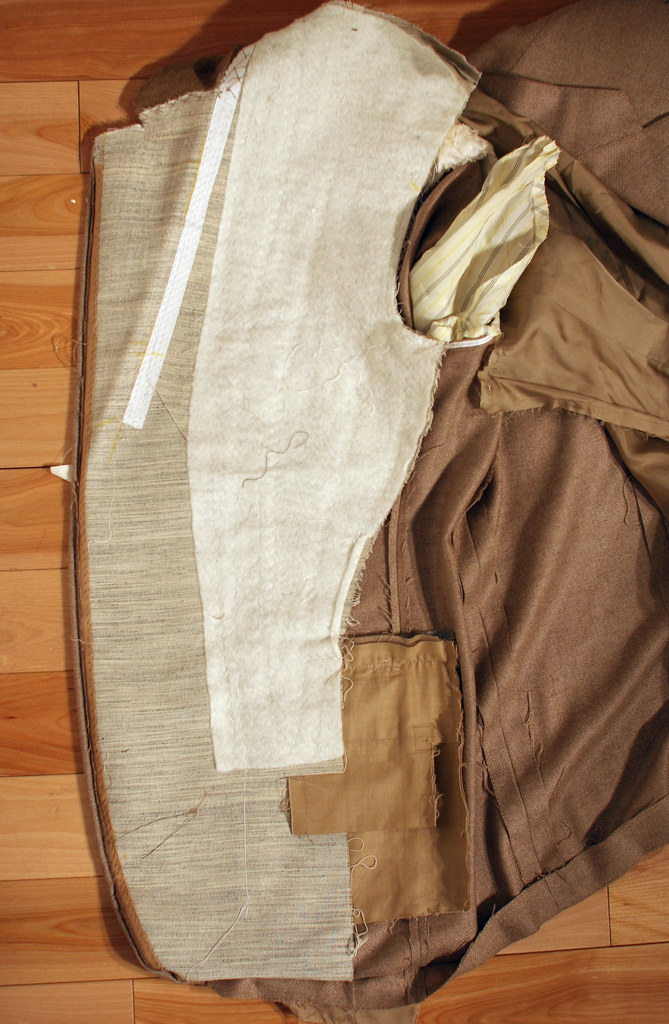
canvas full

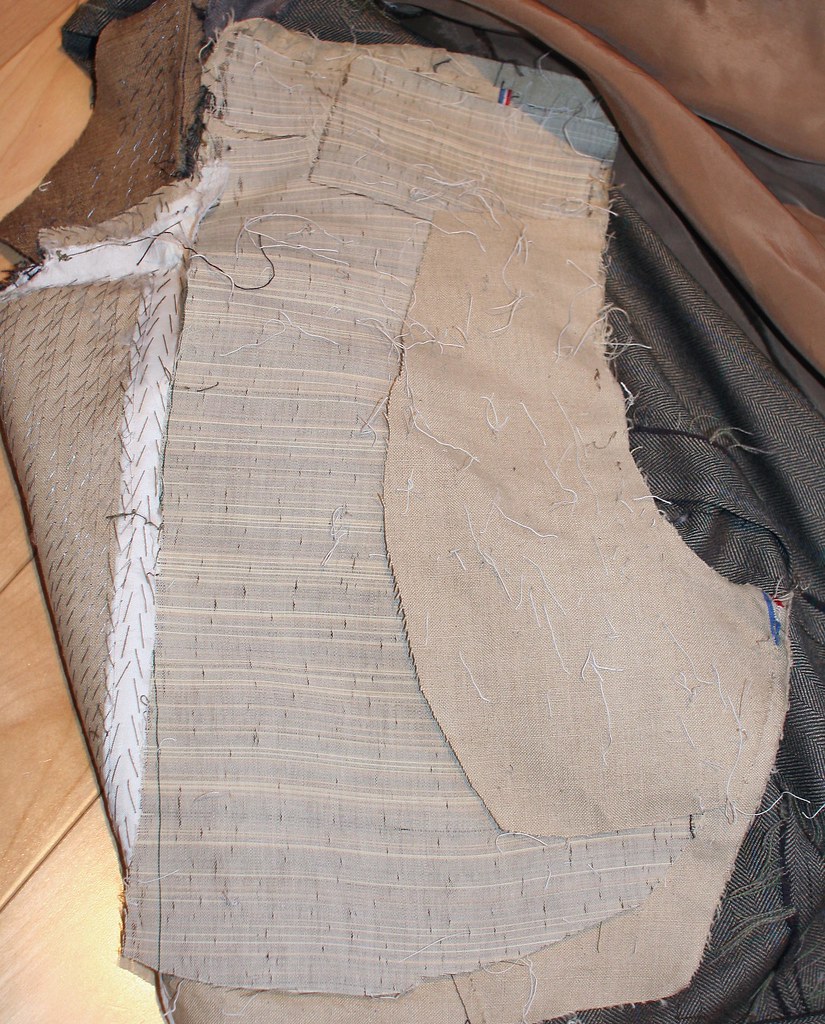
Removing the felt, we can see that instead of haircloth, which is firm and expensive, there is another piece of the same type of canvas as is used on the front. It's been machine padded to within an inch of its life, which makes it a bit firmer but still softer than haircloth, so I'm not going to bother ripping the stitches to open it up.
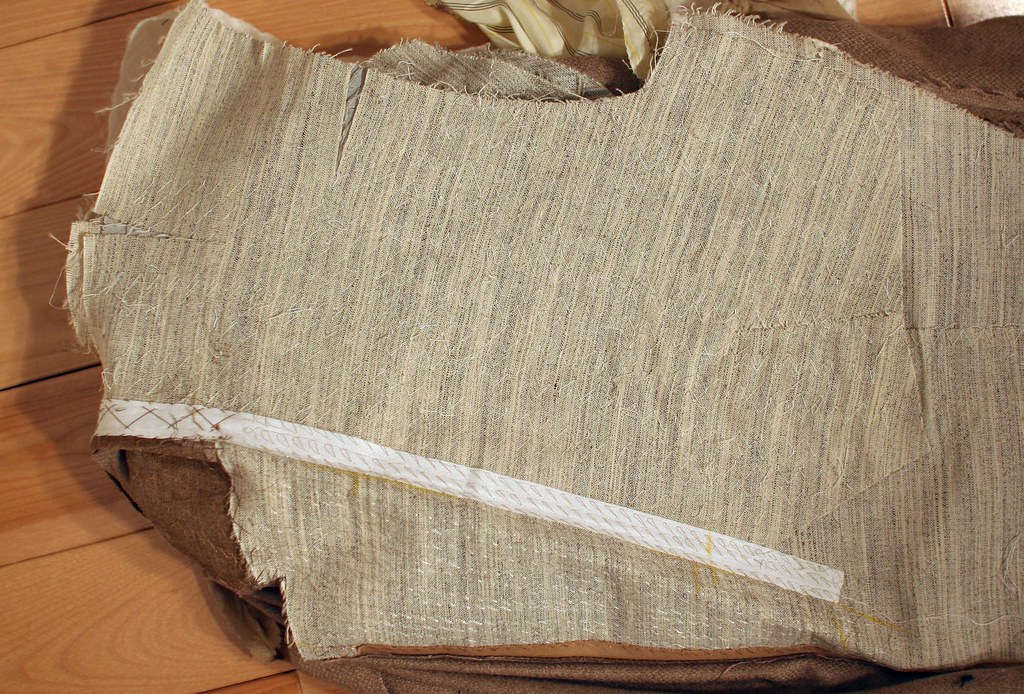
canvas chest

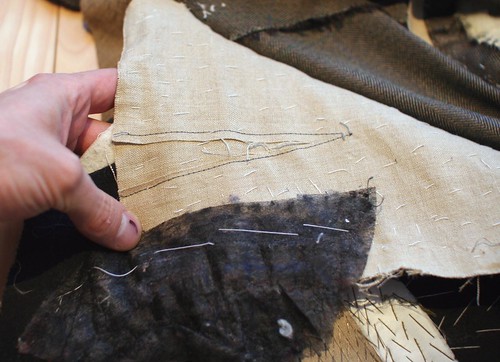
Instead, I hold it up to a strong light to see what's inside. There is a haircloth shoulder reinforcement and you can see the series of vees, or cuts, to give the shoulder some shape.
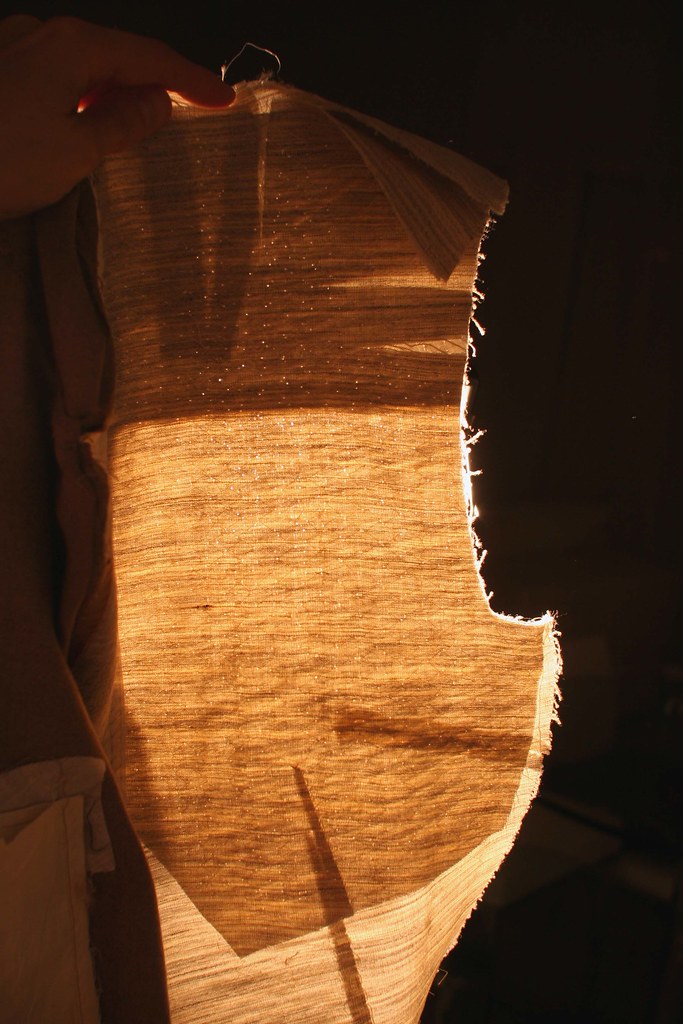
chest see through

Finally, a look at the shoulder seam, which is machine-sewn and stayed with a piece of bias-cut silesia. If you read the Poole dissection you will remember that Poole stayed the shoulder with a straight-cut piece of lining which had no give- this silesia will stabilize the shoulder but still give. I will soon be conducting some experiments concerning elasticity in the shoulder so stay tuned......
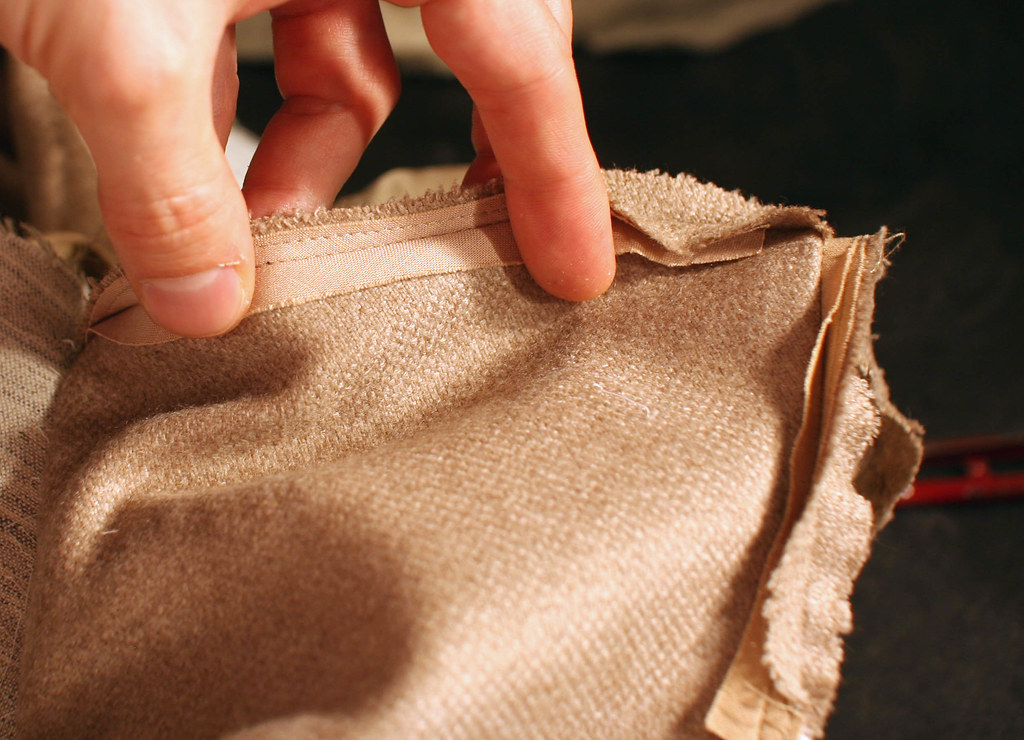
shoulder seam

In response to Jordan's questions and comments about the curved barchetta pocket, I agree, when well done it can be quite nice, though sometimes it is overdone and looks affected. It is the default shape in southern Italy and is catching on in the North too, so I doubt any of them would think it would clash with a straight-cut lower pocket, so long as it was subtle.

The pocket welt itself is curved, not straight cut and bent into shape, and therein lies a bit of the difficulty in making the pocket (and why some curve it a lot more in order to show off a bit) so it's not an issue where stripes and plaids are concerned.
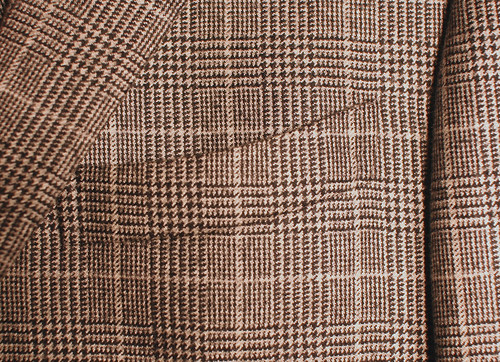
barchetta plaid

StumbleUpon.com

Monday, December 28, 2009

Henry Poole & Co.

bespoketailoring_poole
Reputed to be the founders of Savile Row as well as the creators of the tuxedo, Henry Poole has a long and proud history of tailoring. Their website has a good amount of information about them so I won't get into it much, except to say that they have also been known to be among the more flexible and progressive on the Row. They even had a female cutter as early as the sixties, IIRC.

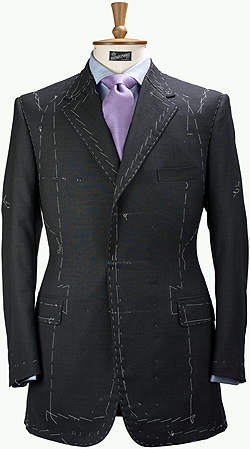
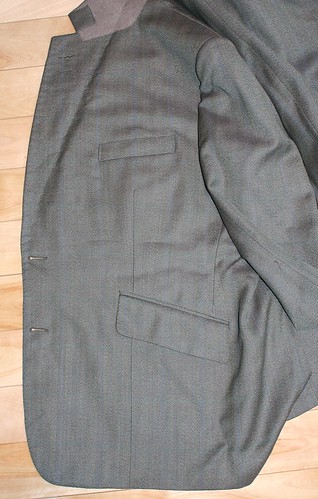
My most recent purchase has two front buttons with hacking pockets, side vents, and the long front dart we have now seen on a number of garments, and no separate side panel.
front

Sometimes these dissections can provide more questions than answers, and this garment is no exception. Because of their willingness to adapt to customer's wishes, to be innovative in the craft, and to not be too adherent to any particular "house style", it is difficult to make generalizations based on one garment. I suppose that can be said of all of them, but in this case in particular, I am stumped about a few things. More knowledgeable readers are encouraged to let us all know what we may be missing here.


To start, there is no label inside the pocket with a date or customer name on it. One instantly wonders if this may be ready to wear but I have found no information to the effect that they ever offered RTW; the garment has also clearly been fitted to somebody's shape and not a stock size, and alterations have been done by very skilled hands, likely ones that were involved with the initial construction of the coat.


The buttonholes are fairly neat, though it is quite obvious that only two of the four sleeve buttonholes function and two are shamholes.

buttonhole front

sleeve

The inside pockets are neatly finished in what I now guess is the Row's manner of finishing. The hand felling is neatly done, if not quite as tightly spaced as the Huntsman.

ins pocket

The hand felling is more obvious around the neck and shoulder.

neck

Another surprise, which is not so easy to see in the photo, is that the back was not cut so as to be able to match the collar. Notice the spacing of the blue lines on the back compared to the collar. We hear a lot about the importance of pattern matching, but this is not the first time that we see a back cut so as not to match the collar, and I recently saw a photo of a number of sleeves (from another Row maker) whose checks were off by a mile. I guess it's not as important as we have been led to believe.

collar matching

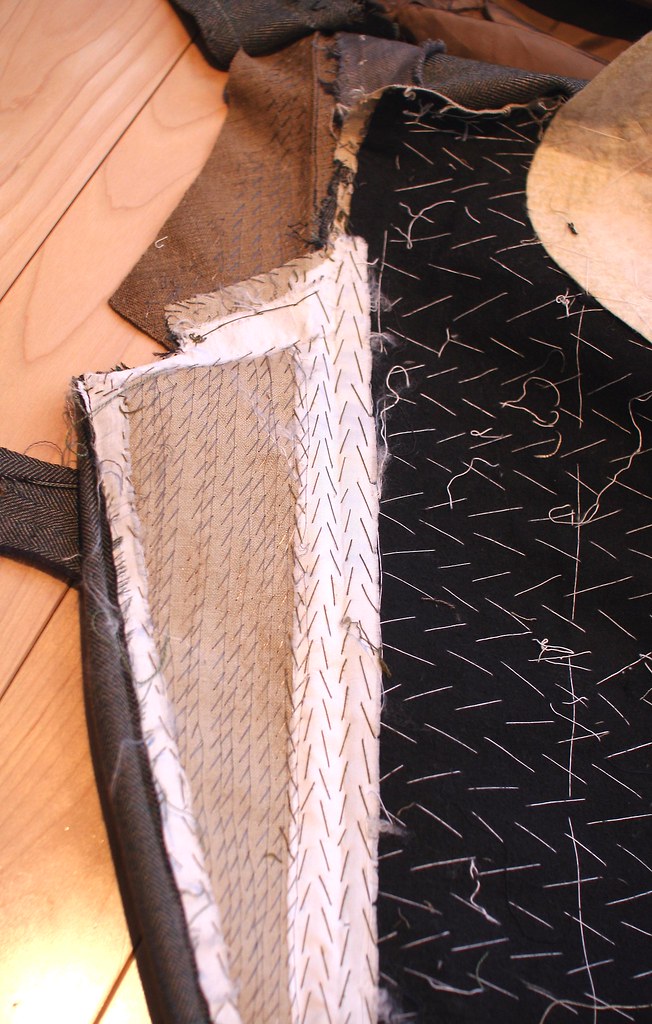
The front canvas is linen only, no hair, which is another surprise. I expected this from a soft A&S-type garment, but not from Poole. The chest feels fairly firm and the hand padding is also fairly dense so I'm not sure of the reasoning behind using linen and no hair. It's possible that the cloth is so bulky that the cutter felt that hair canvas was not necessary for the front. The roll of the lapel would not be as rich, but again, that is a personal preference that they may not share.

inside

Let's look again at the canvas, only closer.

lapel

The lapel and the collar have been padded by machine.

Wow.

I've explained my feelings about hand padding the collar before, namely that I don't feel that it's necessary, but I do prefer a hand-padded lapel. I've been told that Gieves has padded their lapels by machines for a long time now; I'm wondering if this is normal for Poole or was done especially for this garment for some reason. In their forward-thinking they may have determined that the slight added benefit of hand padding may be offset by using bulky cloth and linen canvas and that there is not enough benefit to merit the significant cost. Mere speculation on my part. I really don't know.

Ripping away the felt which covers the haircloth in the chest, we find a large piece of haircloth with a linen support piece in the scye and another haircloth support piece in the shoulder. So this coat is actually ever-so-slightly more structured than the Huntsman, which is supposed to be firmer. Fascinating.

chest
The shoulder vees in the canvas have been stitched down with canvas, the way I would expect them to be (the Huntsman vees were left free, for reasons I have yet to figure out)

vees

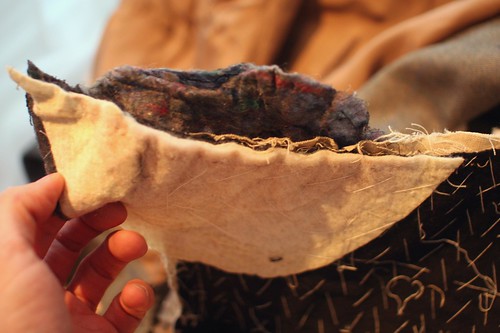
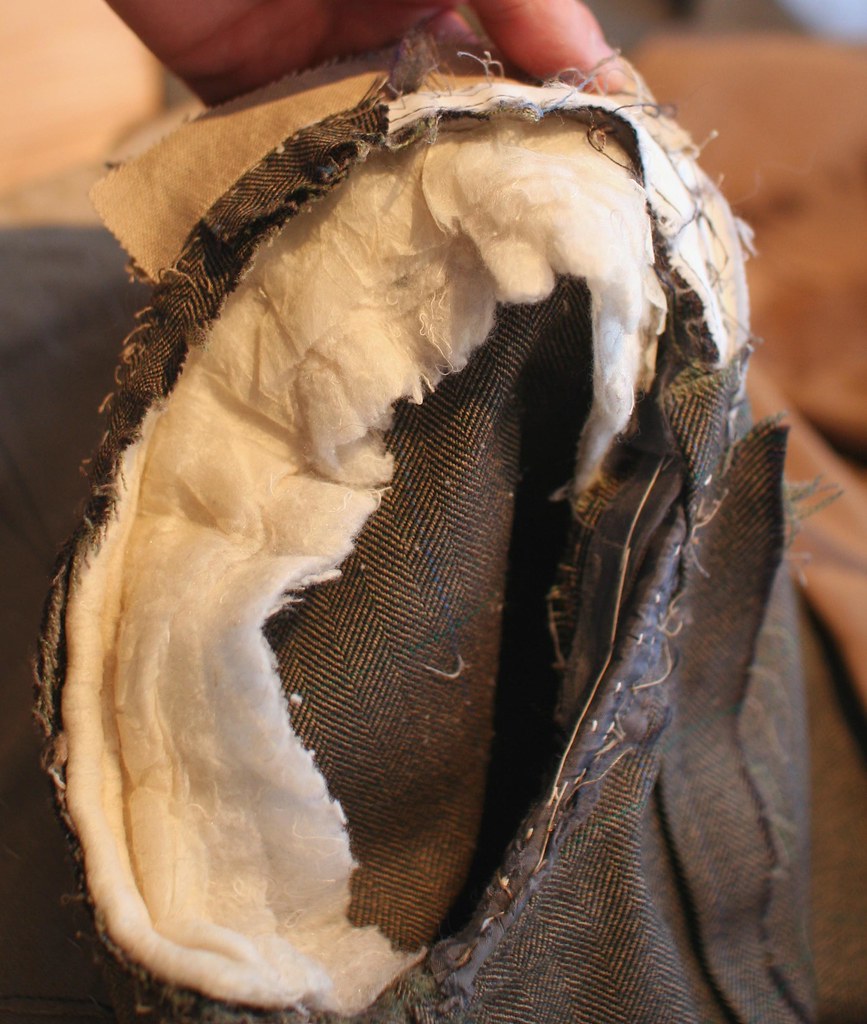
There is a fairly minimal amount of wadding in the shoulder but also a piece of pukh (for want of an english word)

pad

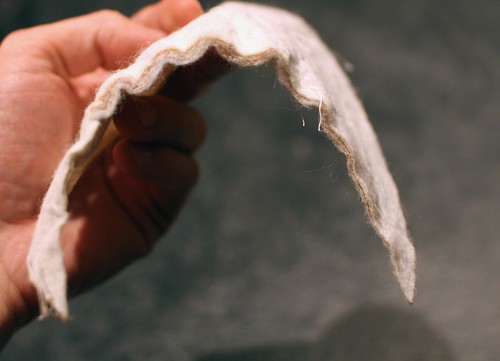
Here is the pad once it has been removed

padding

The sleeve head is the "on roll" type, which I don't like for reasons which are obvious here. They tend to disintegrate and get lumpy over time, whereas a shaped sleeve head conforms better to the shoulder and won't fall apart like this. On a sport coat it's not really an issue, but on fine worsteds it looks bad.

sleeve head

Which brings me to the greatest surprise of all. For me.

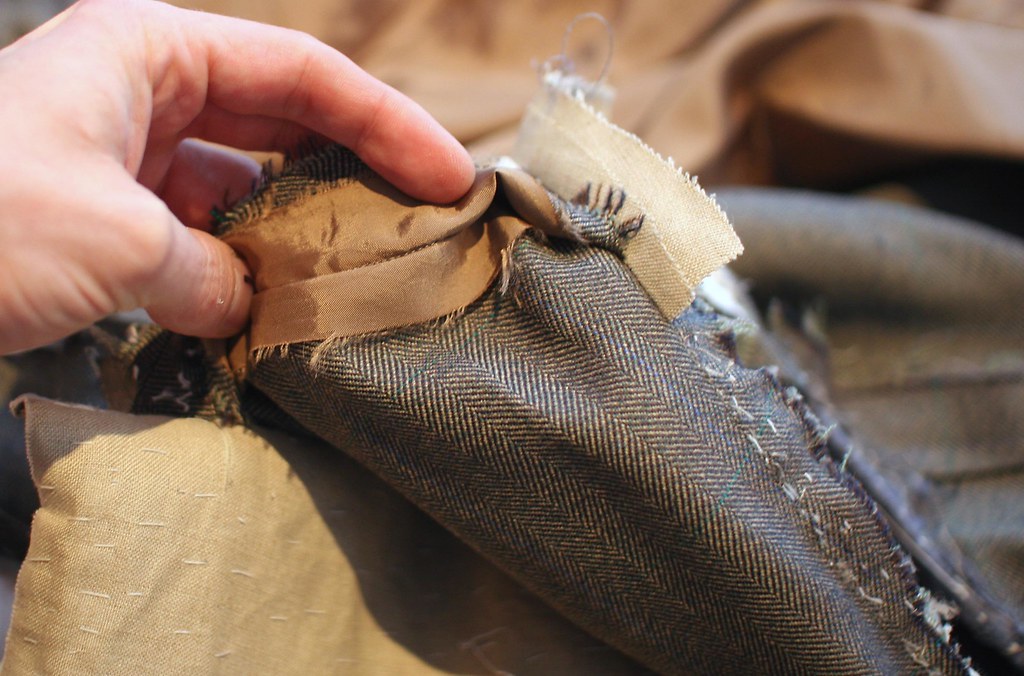
IN the photo of the sleeve wadding, you can see there is a piece of gray lining around the bottom of the armhole. Looking closely, we see that the sleeve has been set by machine. Many houses insist this seam and the shoulder seam must be done by hand to allow for flexibility and to be able to fit the fullness of the sleeve in, but not only has this been done by machine, the initial thought of "cost saving measure?" is instantly dashed by the fact that the lining sewn onto the armhole is straight cut. This prompts a look at the shoulder seam.

shoulder seam

Not only is it also done by machine, but there is also a straight-cut piece of lining staying the seam.

What does this mean?

It means that the tailor at Henry Poole not only disagrees with the idea that the scye and shoulder seams should stretch, he has inserted a straight-cut stay to PREVENT the seams giving any.

WOW. Double WOW. This is potential bespoke heresy. But is there anything to it?

I'm now, more than ever, tempted to take a trip over to London to have a series of chats with people, especially now that I would like to understand the tailor's reasoning behind this complete about-face from tradition.

In the meantime, however, a series of experiments testing the validity of the theory of elasticity in these seams are in order. Maybe Poole has already quietly done their testing. I will also measure the size of the sleeve compared to the armhole and the amount of fullness they have worked in to test the theory of the necessity of hand-sewing the fullness.

And since Santa Claus brought me a camcorder for Christmas it will be that much easier to illustrate the results. Thanks, Santa.

UPDATE

A few interesting suggestions have been made.

I don't think that this garment was a licensed garment for several reasons; first, I acquired it from a vendor in London, not the far east where the licenses are held, but more importantly, I believe the label of licensed product reads Henry Poole of Savile Row wheres this garment bears the full Henry Poole and Co. 15 Savile Row etc. This is also an indication that the garment was made after 1982 when they moved form their premises on Cork to their current address. The garment, in almost all respects, has all of the hallmarks of a London-made suit. It is also of a size which would surprise me to see sold in Asia.

I think the most likely answer is that this was a made-to-measure garment rather than full bespoke. The cost of such garments, being lower than bespoke, could explain the machine padding, even though, as I am told, Gieves and Hawkes has been doing their bespoke in this way for years. It could also explain the lack of a customer label. I might contact Poole for comment, though their reluctance to do so would be understandable, in which case I will have to try to put my hands on a garment which we know to be bespoke, for comparison. Perhaps one of Mark's friends have worn out one of theirs and would be willing to let it go for a small price?

I should also add that I have never heard anything other than the highest praise for Poole, which can not be said of all the houses.

ANOTHER UPDATE
There was a coat on ebay, made in 2007, cut by Simon Cundey himself, which would have made a perfect comparison garment but I was outdone in a last-minute bidding frenzy. To whomever outbid me I say "grrrr". But I will keep trying. And Kiton is definitely next on my list, particularly since they made some pretty dubious claims in print recently. We shall see about that.....


A FINAL UPDATE-

I am led to believe that management at Poole's was unaware that the padding was being done by machine and have since insisted that all lapels and collars be padded by hand.

StumbleUpon.com

Tuesday, December 22, 2009

Getting into Huntsman's trousers

A notice came today indicating that the post office is holding a parcel for me. That must be the Henry Poole coat so I had better get the Huntsman finished!

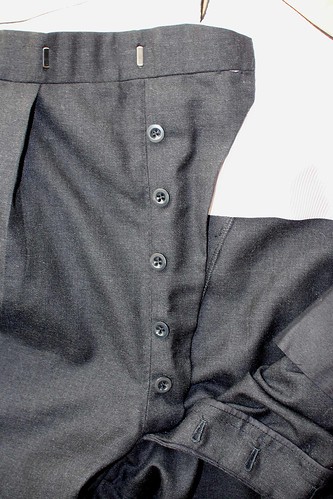
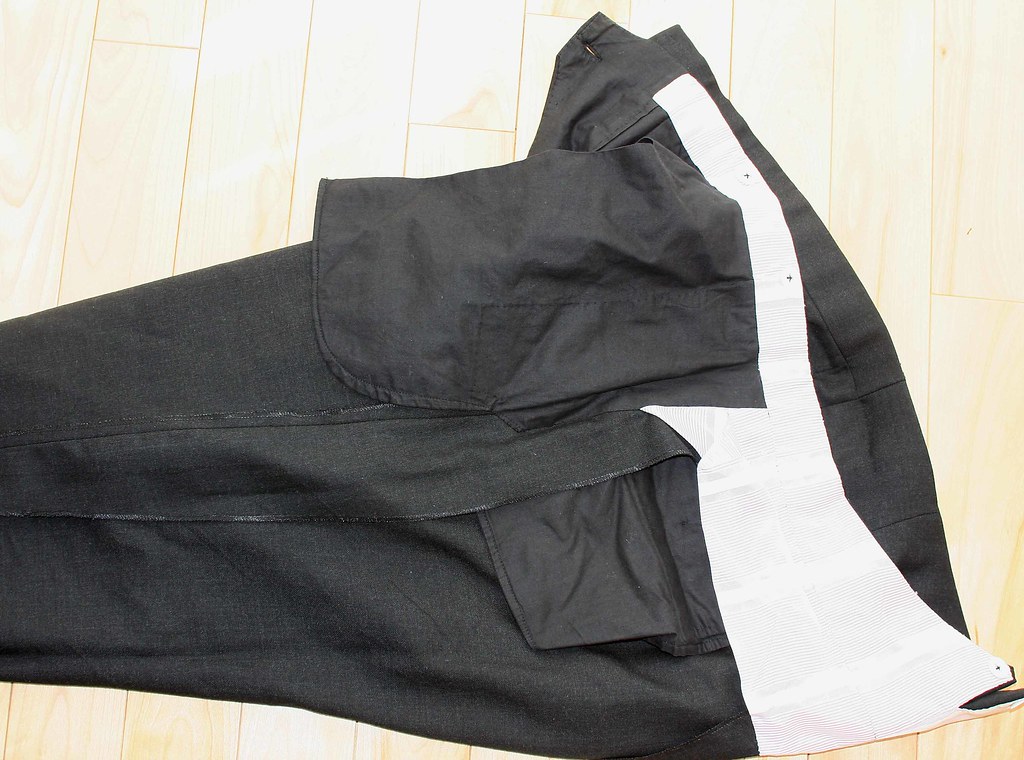
FLY INSIDE

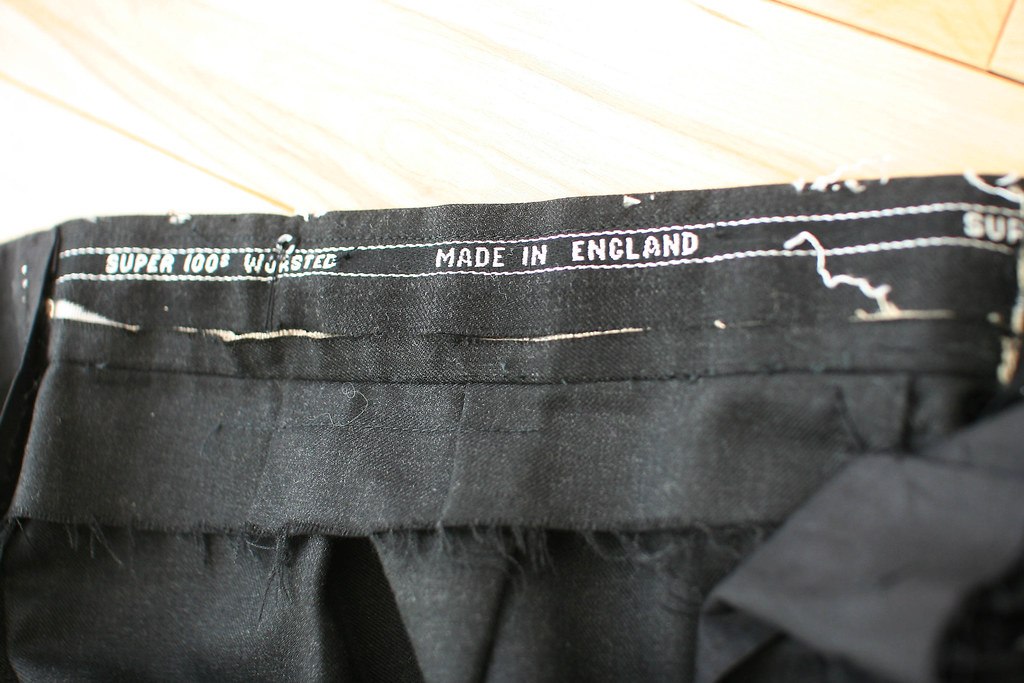
This suit was cut for a very short man, but in typical English fashion, the trouser is cut with a very high rise and a fishtail back. Intended to be worn only with suspenders (or braces, as they would refer to them), the waist is cut very high, there are no belt loops, and the fly closes with buttons. It looks just like a page out of a tailoring manual from the turn of the last century. It's actually charming!

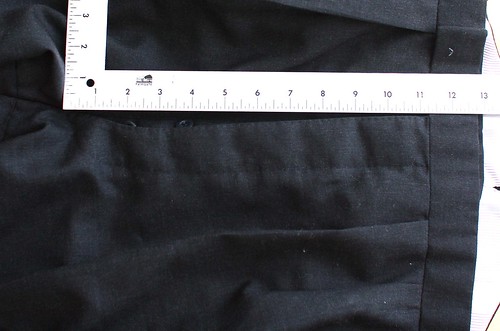
Here you can see just how long the rise was cut, even for this very short man the square extends only to the bottom of the fly- not all the way to the inseam, which is a few inches further.

FLY LENGTH

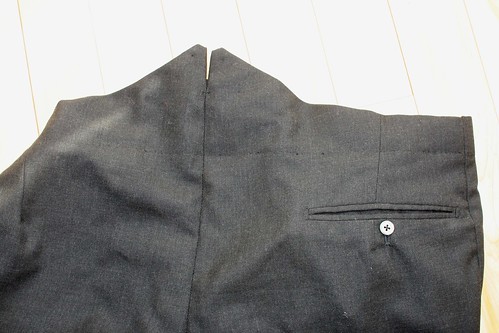
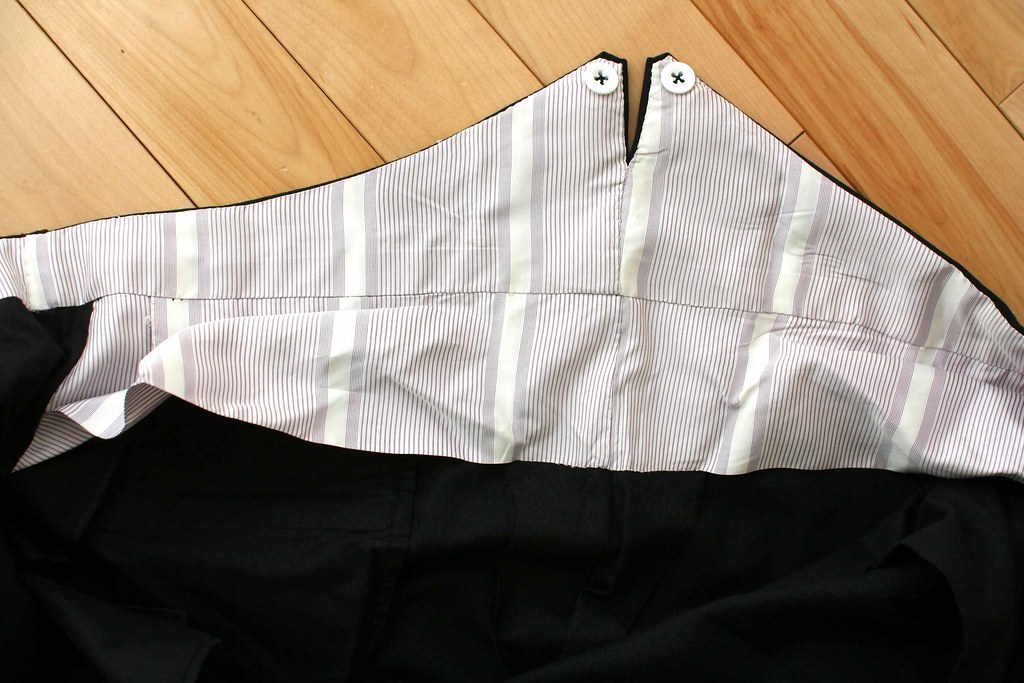
Notice how the back is cut very high, without a separate waistband, in order to accommodate the suspenders.

FISHTAIL BACK

The front has been cut with a waistband to allow for two forward pleats and the pick stitching of the pocket is barely visible.

POCKET 1

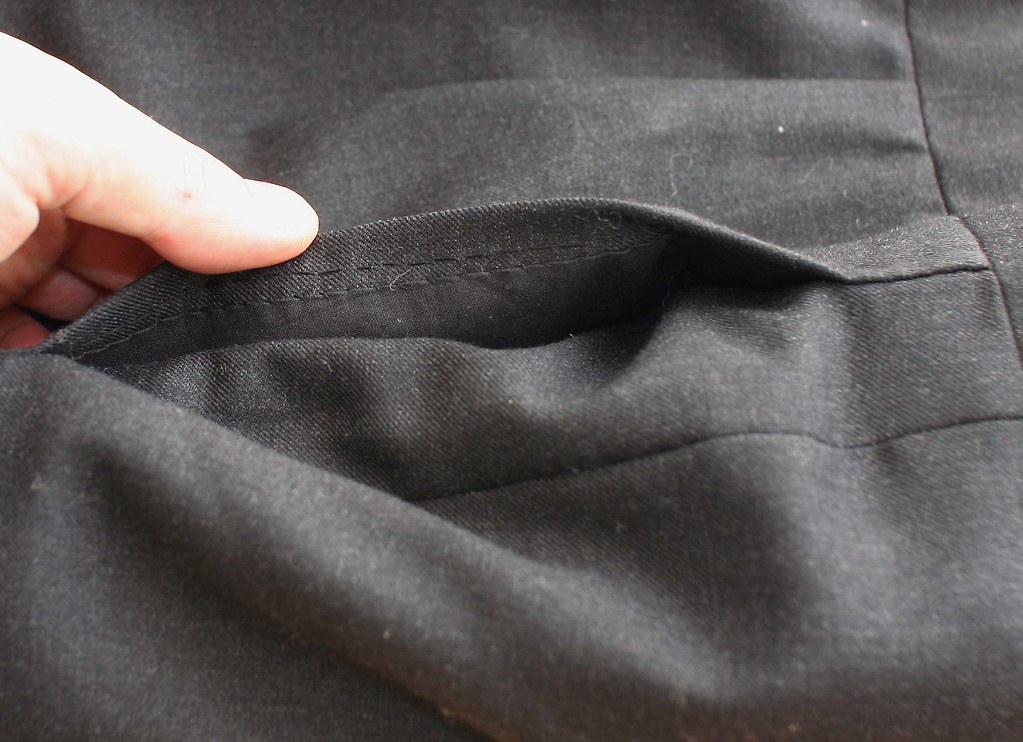
Instead of a bulky seam, the pocket edge has been turned under, having been reinforced by a piece of linen, and finished by hand.

POCKET INSIDE

The pocket inside has been finished by hand, as has all the curtain and facings. The facing has been felled to the pocketing by hand, and you can see the enormous inlays left at the outseam. The trouser had been altered, probably at the final fitting as a previous seam line is evident. but even the original inlays were pretty big, allowing for considerable weight gain.

INSIDE POCKET

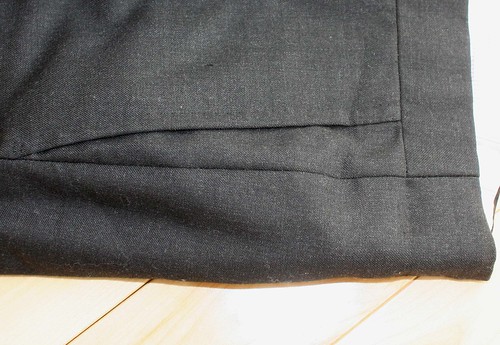
A bigger view of the outseam. Generous inlays have also been allowed at the inseam.

OUTSEAM

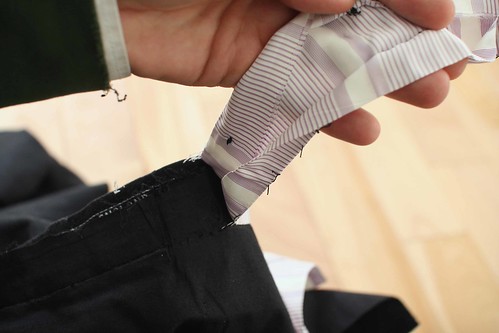
The waistband has been finished by hand, using a large piece of lining folded over three times.

WAISTBANDING

The back of the trouser is finished with the same lining, leaving ample pleats in the curtain to allow for future alterations.

FISHTAIL LINING

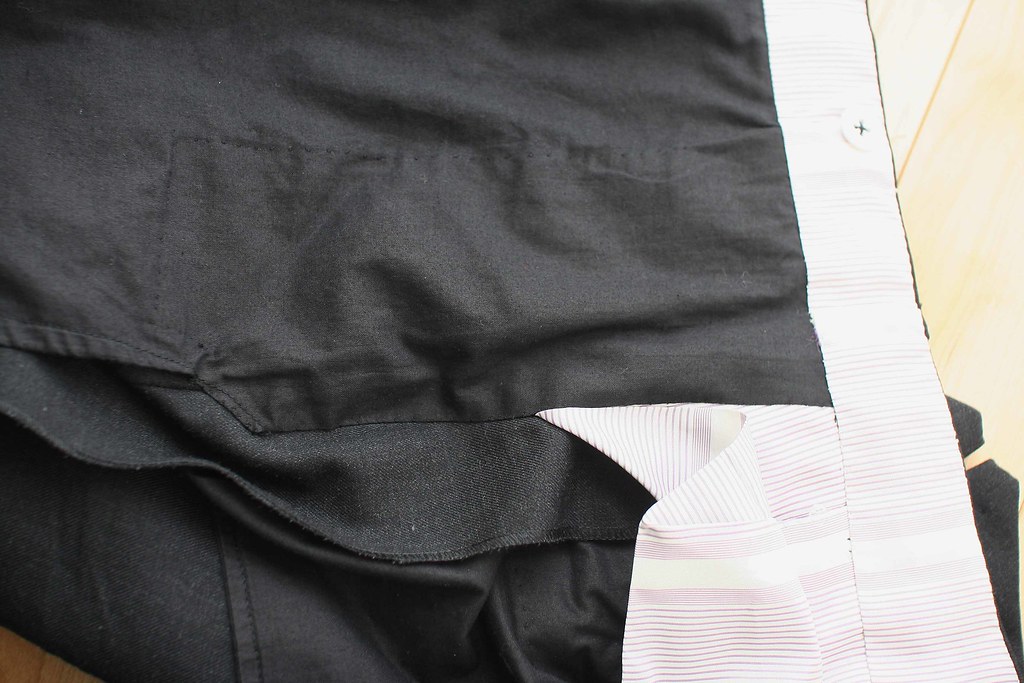
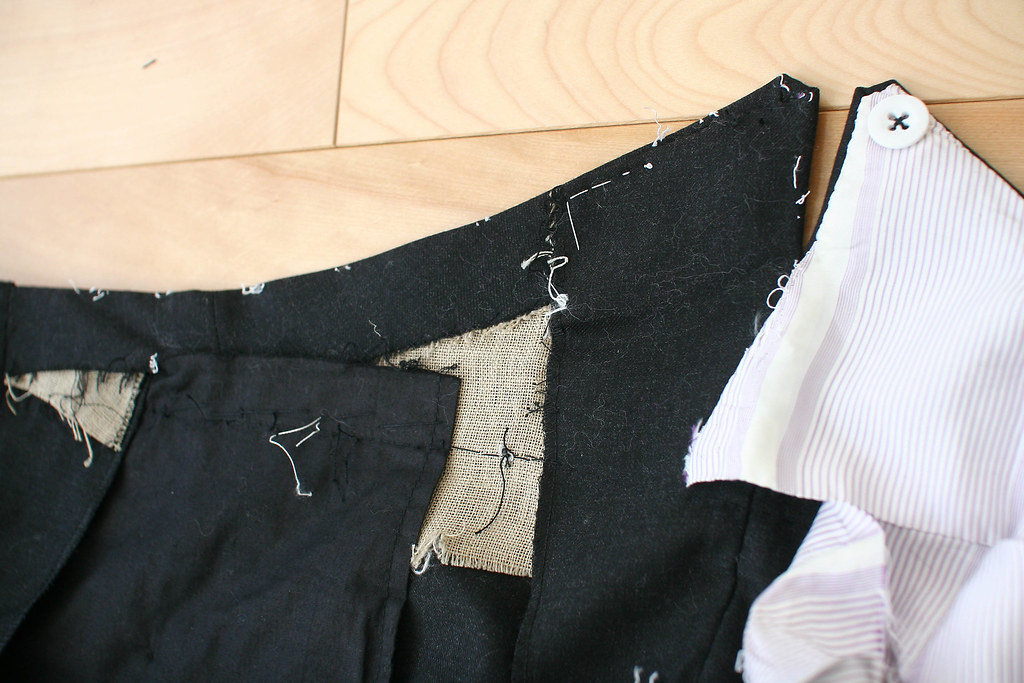
Here you can see how the back was reinforced with linen prior to finishing. A lot of extra cloth has to be folded in to allow to rebuild the points if the trouser has to be let out or taken in (one of the minor drawbacks to this style is the amount of work required to do what is otherwise a simple alteration.

FISHTAIL OPEN

The front of the waistband was done in a smart way which will deserve a post of its own to explain how it was done, as I think this will interest home sewers. The banroll was attached to a piece of linen and the two were attached to the double width waistband cloth in such a way as to make it very stable and prevent shifting, and the edges of the cloth meet up neatly to create a smooth, even finish. Notice the inlays left at the waist to allow the waist to be raised even further.

WAISTBAND INSIDE

The seat seam has been sewn by hand, which brings me to a point I keep trying to make.

SEAT SEAM

ON RECEIVED WISDOM

As we can see in this trouser, a lot of the craft of tailoring has changed little in the last hundred years. More. A lot of the basic truths have also been repeated, without changing, over that period of time. It's almost religious. One of the maxims is about the hand-sewn seam and its flexibility-

A hand-sewn seam has give and a machine-sewn seam does not, therefore a hand-sewn seam is superior to a machine-sewn seam.

Let's put that in context. A hundred years ago, the only machine available to tailors was the plain machine, more correctly known as the lock stitch machine, because two threads interlock to form a stitch, and a series of those stitches for a seam. It is strong and has very little give, so in an area subject to strain, such as the seat of the trouser, a lock-stitch seam could break easily. A tailor, however, could sew the seam using a back-stitch, a stitch which loops back over itself, which allow the seam to stretch a fair bit. In this context, the above statement is entirely true- a hand-sewn seam is better than a lockstitch seam. We hear this in reference to seat seams, shoulder seams, sleeve seams, and more.....

Though many things have not changed, and tailors are justly proud of the tradition we have maintained, technology HAS changed since then. There are now machines which not only replicate that looping hand stitch but better it, creating complex looping chainstitches with one or several threads which are far more flexible and strong than any hand-sewn backstitch. Those machines can be expensive, though, so most tailor shops will not bother with the expense of such a machine which is only good for 3 or 4 of the hundreds of operations involved in making a suit. My guess is that many of the tailors who chant the mantra of the hand stitch have never seen a lot of the equipment available today. And even though you will hear it repeated often that hand-sewn seams are superior, if you look inside what you thought was a very well-made pant and see that the seat seam has been done by some sort of machine, do not feel that you been been short-changed because the seam was not done by hand. In fact, it is likely that the seam is much stronger than a hand-sewn seam.

So before you go blindly repeating the received wisdom about the hand-sewn seam, know that while it was once quite true, and that it is still true in certain contexts (like that of a small tailor shop, equipped only with lock-stitch machines), it is certainly no longer entirely true. It is nice to know your garment was crafted entirely by hand, but is no longer strictly necessary in order to achieve the same degree of quality, or better, in this instance.

Rant over.

StumbleUpon.com

Saturday, December 19, 2009

Breast pockets, Huntsman-style

This one's for the tailors. Tiny little details that I obsess over.....

I have always operated under the assumption that there were two basic methods of setting the breast welt pocket (with many variations on the methods, but two global methods).

The first being the hand-made method, in which the welt is constructed (usually by hand), sewn to the front, then the ends felled or slip-stitched in place by hand. This is how I have always made my breast welts.

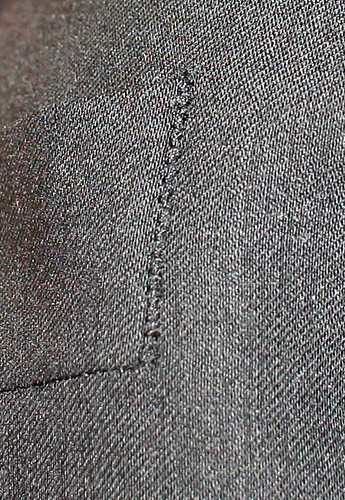
The other method is the factory method, in which the welt ends are machine-stitched on top, either by micro zig-zag (which is the common technique)or, horrors, by plain machine. The zig-zag method looks like this; you have to look very closely at some garments, but it is there and it is visible.

IMG 099

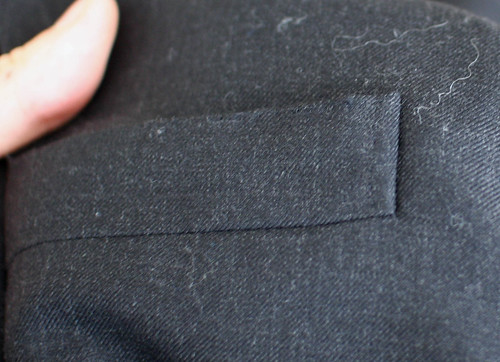
Every once in a while I would come across a garment whose welt ends looked cleaner, more solid and better executed than the ones felled by hand, but there was no visible stitching on top, leaving one to assume they had to have been done by hand, but with some very talented hands. I knew there was something that I was missing, something I had yet to figure out. The breast welt on this Huntsman coat was one of those types. I have removed some of the pickstitching, but you can see how the ends are done- cleanly, with no visible stitching, yet they are solidly affixed.

breast welt 1

breast welt 2

That's what's fun about studying other people's garments. We learn. We can improve.

Looking inside, we can see that the breast welt has been tacked by machine, but from the inside. At first it seems obvious, until one sits down to try to do it. Hmph.

breast welt inside


I finally managed to figure it out. The welt has to be constructed in a totally different way than I am used to, but I got it.

breast welt mine

This suit has just about paid for itself now. Now I have to practice this, oh, about a hundred times or so before I do it on somebody's garment....

EDIT

This blogging thing's cool. I got an email from someone who trained at Henry Poole, saying that this was how he learned to do welts there, and then proceeded to send me an explanation of his method. Most of it was pretty much what I had figured out, but there is nothing like experience. When you have done it a hundred times you come up with little tricks to make it easier or better, things that did not immediately occur to me. So he saved me a whole bunch of trouble; in the interest of sharing, I'll put together a tutorial showing the method.

Thanks R!

StumbleUpon.com