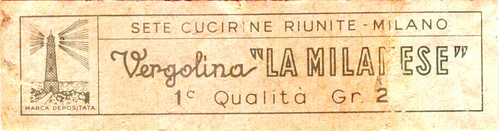
The image above is the wrapper for an old spool of gimp, "vergolina" being the Italian word for gimp, and La Milanese being the brand name. I am guessing that this is how the French came to know gimp as "Milanaise", and thus the Milanese buttonhole would have found its name. Conjecture, but likely.
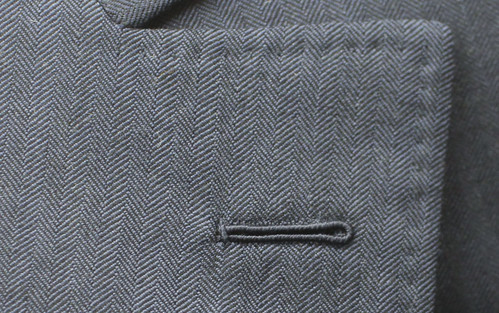
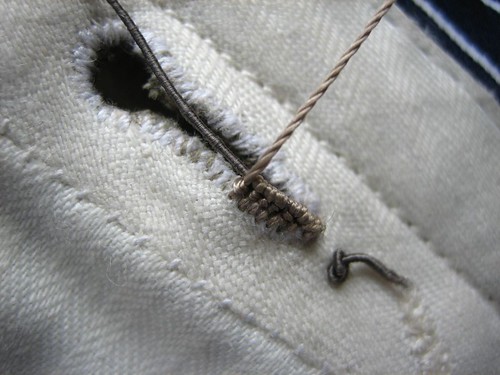
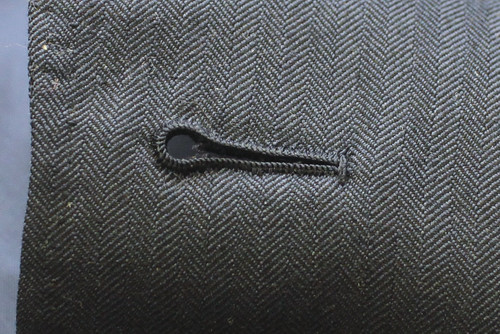
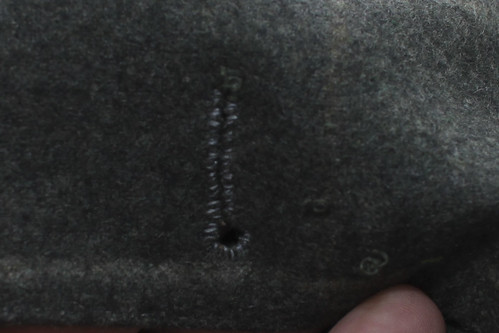
I've discussed this buttonhole a few times, mainly because I didn't know how to do it and that was driving me crazy. The example above is from a coat by Smalto and I had a good look under a magnifying glass and finally figured that stitch out- it is a fairly simple figure-of-eight stitch with no knot or purl. More on that soon. A reader was kind enough to reach out with another method of making them.
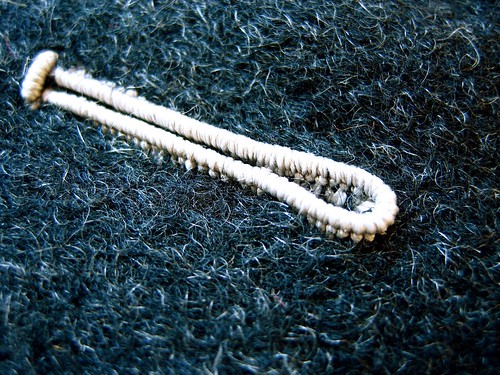
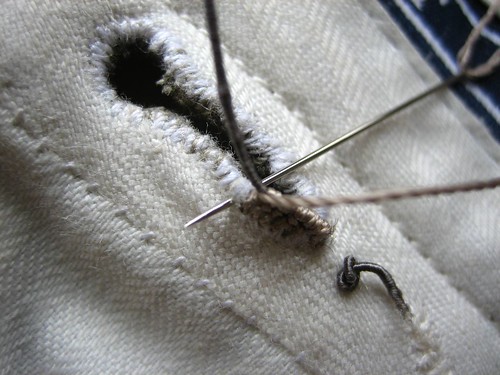
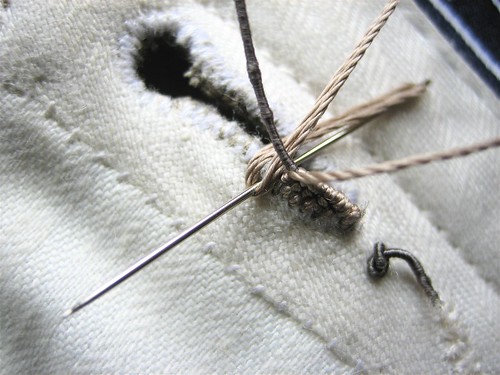
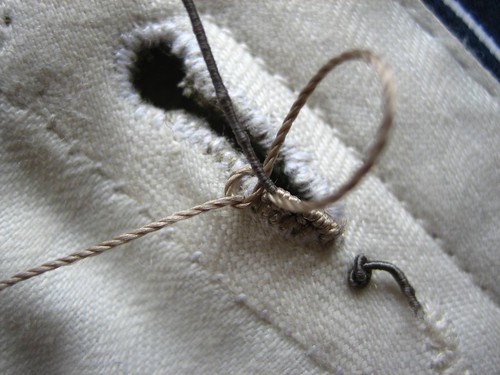
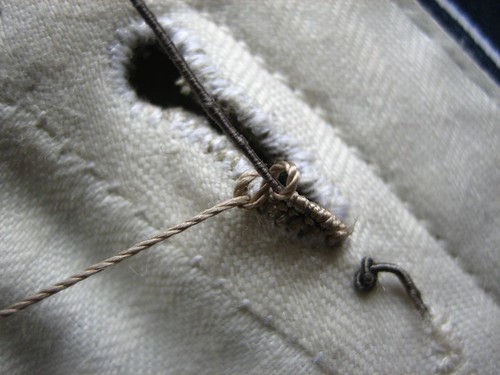
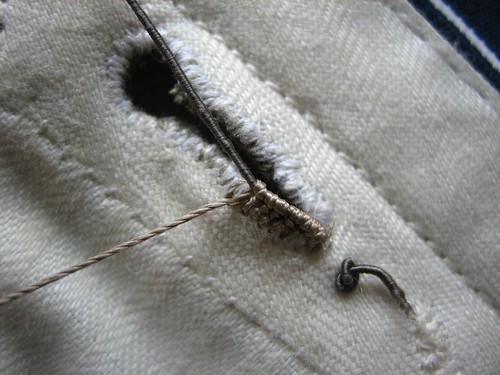
Matthew Reed did the CAP Tailleur Homme in Paris (a training program in tailoring) and did his internship at Cifonelli, a famous Parisian house. (If you read French you can find a recent interview with Lorenzo Cifonelli here) Matthew was kind enough to photograph a high-contrast buttonhole sample that he learned at Cifonelli, and the steps involved in making it- you will notice that in this version there is a knot underneath the gimp, which I rather like because it raises the buttonhole higher off the surface and makes it a bit more pronounced (subtletly be damned). So thank you, Matthew.
The gimp has been knotted and inserted between the layers of cloth- it must be lifted out of the way when taking the stitch.
Wrap the tail of the twist around the head of the needle.
Pull through
Pull tight
I've been mumbling about buying a macro lense since my close-ups leave much to be desired, but seeing Matthew's photos I'm leaning toward a point-and-shoot instead, which would be cheaper and more versatile. So double inspiration, thanks to Matthew.
EDIT-
Franca made some interesting observations in the comments section. She has discovered what many have found, namely that many old tailors guard their secrets jealously... She compares the buttonhole above to the buttonholes she sees in her region (Abruzzo) but the buttonhole above has a knot, and the ones made in Abruzzo, particularly Brioni, do not have a knot- it is slightly simpler in certain respects, but require more precision. She has discovered that cloth that frays easily is not suitable, or at least will be difficult to make a stitch that is small enough even though she has overcast before stitching. I will suggest running a machine stitch 1/16" away from the cut location on each side (before cutting) which will help stabilize the area. As for the stitch itself, once I get my macro photography sorted out I will post a series of photos like the ones Matthew submitted, showing the Asola Lucida, al modo di Brioni. And yes, Franca, the only thing to do is to practice and practice some more.
I've linked this video before, but here it is again.
Sometimes promotional material can push the envelope a bit in order to look good, and I admit that a few moments during this video I found myself thinking "Oh, really?"
Well, yes. Really.
Thanks go out to Des Esseintes for donating this coat from Francesco Smalto.
A few posts back I remember lamenting the fact that certain houses get way overhyped and others don't have anywhere near the recognition they deserve. Well, this is another of the latter. Perhaps because they have fallen to the all-too-common over-licensing of their name that they are more known for their scents; one is also tempted to think that the quality may not be the same as it was when this coat was made back in '91, but the video was posted in 2008 and shows identical techniques.
You can find a bit of background info on Smalto here
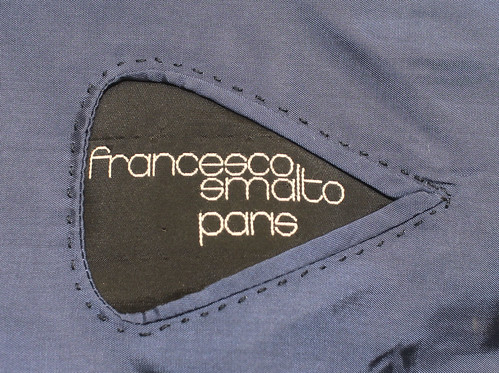
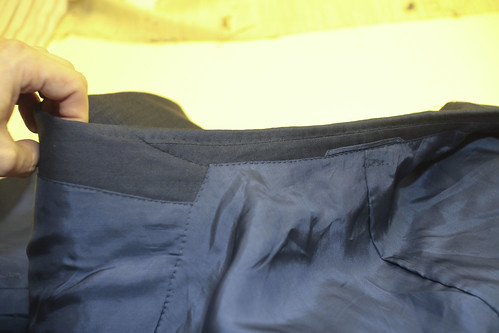
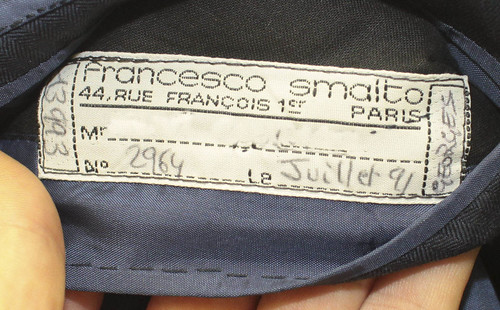
Men's tailoring is often focused on the understated, the invisible, but in this garment the details call attention to themselves; in this sense it is very influenced by haute couture whose finishing and execution are often shows of virtuosity rather than self-effacement. The main label, as shown above, has been incorporated in a clever pocket which would be just about impossible to replicate in a mass-production setting, and is just one of the many indications that this is a very special garment. That said, most of those clues are on the inside, not the outside.
Something less obvious, but which should be pointed out, is that this garment had spent several weeks crammed into a shipping box. It is not a heavy, sturdy cloth but rather something more delicate, and yet this is how it looks straight out of the box, no pressing or steaming-
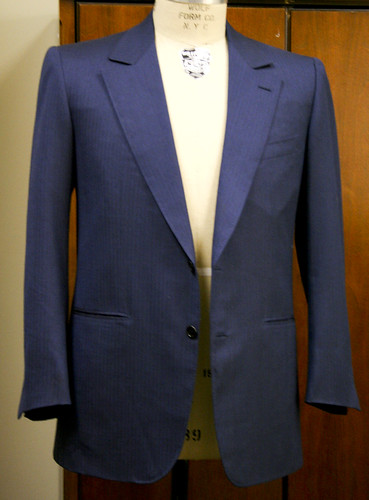
The shape of the lapel and collar is rarely seen outside of France.
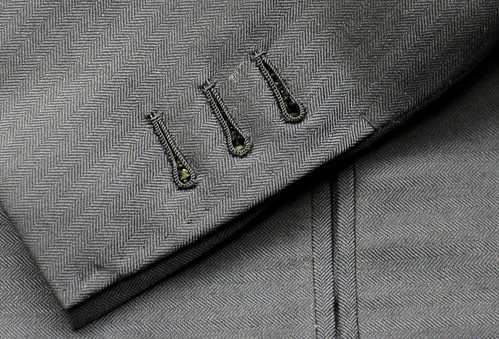
Readers are, by now, aware of my thing for buttonholes and these are very good, worked using finer thread than I have ever been able to find; note the pickstitching along the vent and the little bar tack. Note also that the gimp ends have been worked inside the cloth rather than being concealed under the ends like I do.
This buttonhole on the front is as close to perfection as I have ever seen
and oddly, the second buttonhole is straight rather than keyhole, an acknowledgement of the fact that this button must never be fastened.
The lapel is sporting the "milanese" buttonhole, the mechanics of which I have finally figured out (it came to me while driving home, of all places).
The pocket jets have been sewn by hand, something that is almost never seen anymore.
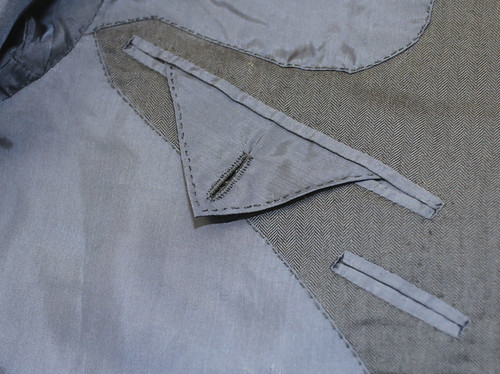
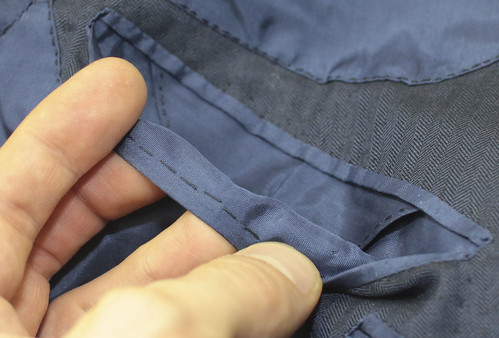
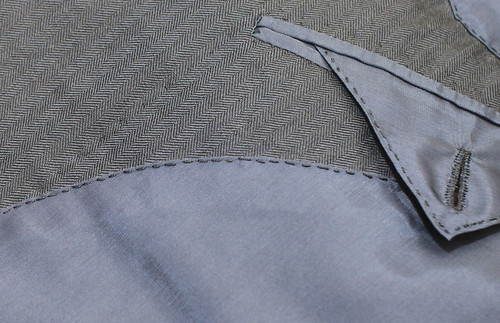
The inside pockets (there are four of them) have also been bound by hand. Notice the hand pick stitching along the edges of the lining and flap, and the hand-made buttonhole on the flap.
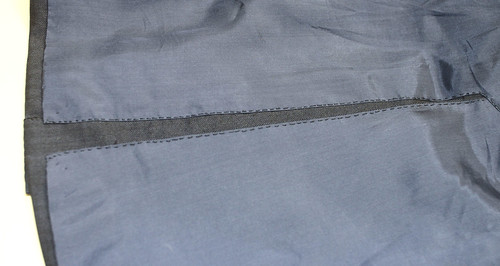
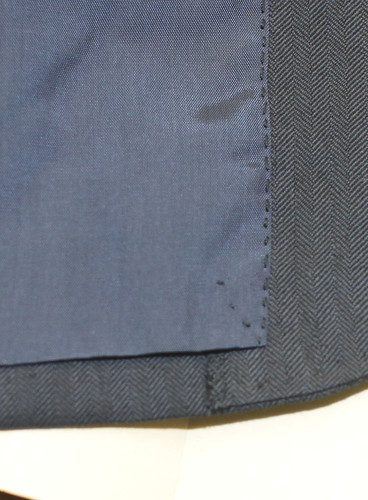
The lining has been inserted entirely by hand. While most English tailors prefer a small, invisible stitch to fell the lining, it is more common in Italy to use a decorative top stitch, like this one, however they are usually much wider in their spacing. These are very tight, another way of saying "we have spared no time nor effort in the creation of this garment". I, personally, prefer a neater, more discrete finishing stitch, but this is actually a more solid stitch.
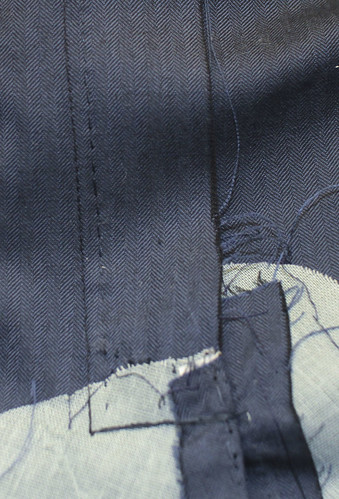
The vents.
A few diagnol stitches
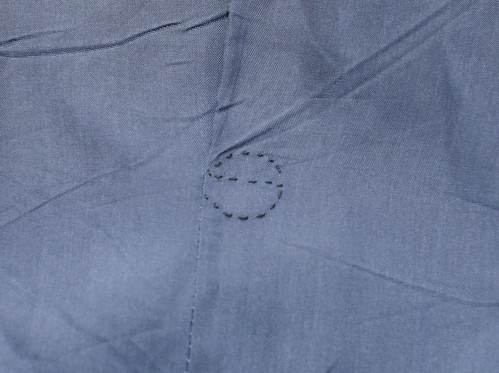
The pleat at center back has been finsihed with a big S for Smalto
I was astounded to see a two-piece top collar, something which is rarely, if ever, seen on bespoke work because it requires a bit of engineering in the pattern. The blurb I linked to did mention his visiting clothing factories in the U.S. so he may have borrowed a technique.
To the right of the personal label is the name Georges (I obscured the client's name). I imagine that this was either the cutter or the person who created the garment.
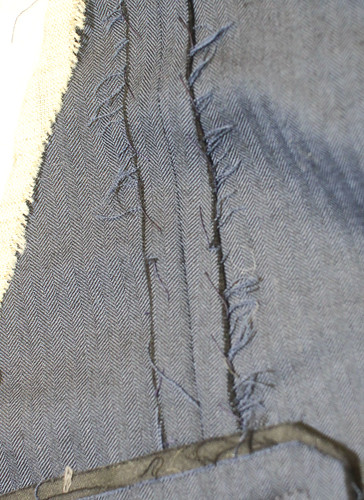
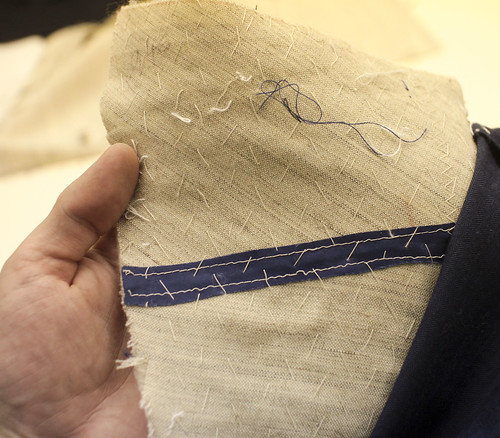
As I get the lining open, we see then vents have been reinforced with wiggan.
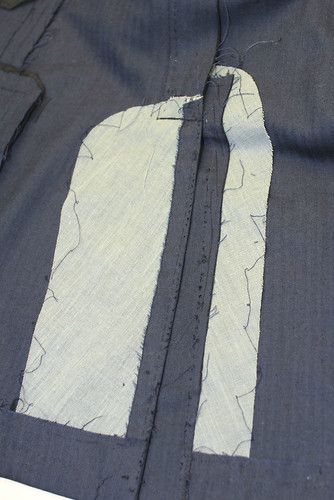
The large inlay has been pick stitched to one side
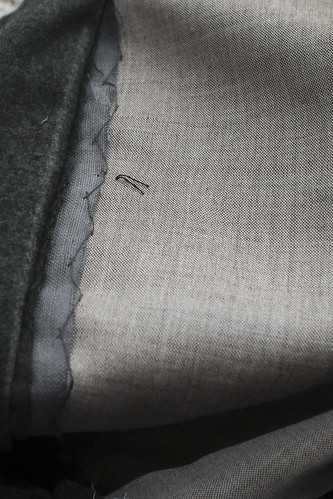
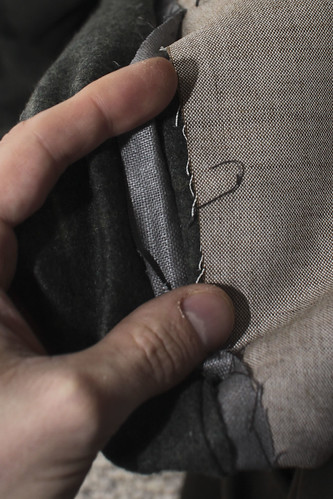
And the smaller seams in the body and sleeve have been lightly overcast by hand to prevent fraying, a detail I have never seen on a men's tailored garment but would be more common in ladies' couture. This is more commonly serged or pinked on men's garments.
Rather than a loose basting stitch, the facing and pockets have been secured with a cross-stitch.
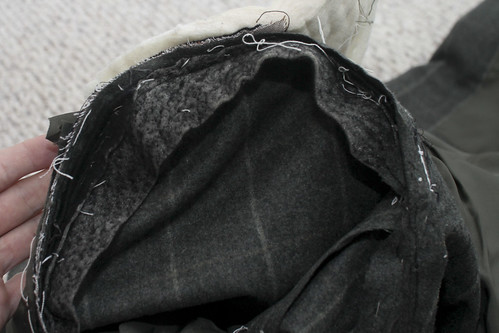
The lapel's underside is heavily dimpled which would indicate hand pad-stitching. And since, until now, virtually everything has been done by hand, one has no reason to suspect otherwise. So I was quite surprised to find that the lapel and collar had been padstitched by machine.
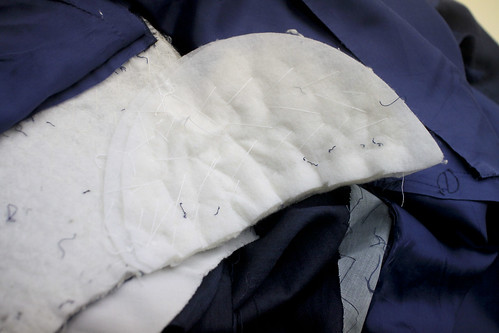
It is perhaps not apparent in the photo, but the chest has been padstitched by hand the entire length of the felt.
Likewise, the shoulder pad is entirely hand made.
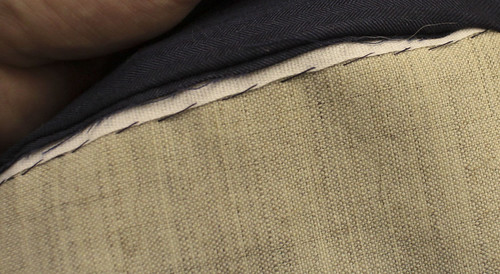
The edge tape has been sewn in by hand as well.
Considering the amount of work done by hand everywhere else on the garment, one can assume that they see no added value in padding the lapel and collar by hand. Liekwise the sleeve setting and shoulder seam have been done by machine (have we seen enough proof that this is really not necessary to do by hand yet?)
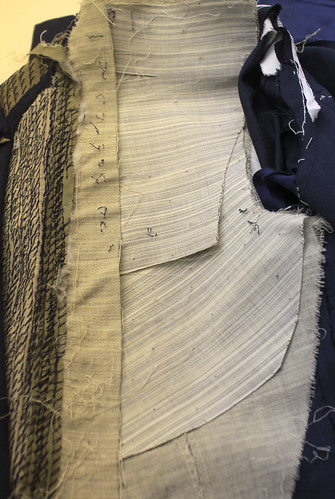
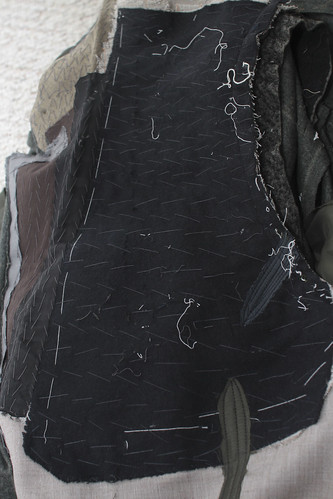
Here we can see the reverse of the pad stitching of the chest, as well as the seam that was taken to build some shape into the shoulder, instead of teh more common vees. Note the direction of the grain in the upper piece.
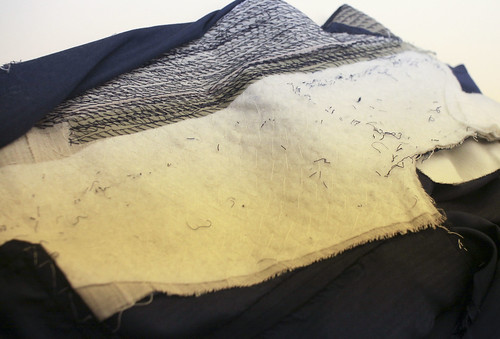
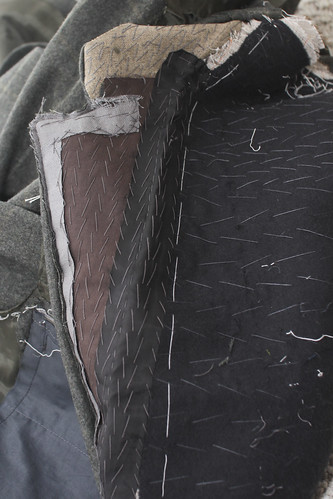
I could feel a nice amount of structure in the chest so was not at all surprised to find two layers of haircloth, one on a slight bias (refer back to my drape experiment) and the other cut out of the scye , à-la Anderson and Sheppard. Smalto had clearly seen a lot of things in his carreer.
I can honestly say that it's been a while since I saw a garment with such a personality. One might not agree with all the choices made, but it shows a definite point of view and I can certainly respect that, and find it refreshing for some reason. What was even more fascinating to me in discovering a lot of these very distinctive details was that, a few weeks later, I recieved a garment made by another French tailor which resembled the Smalto in many of them. There is certainly a strong link between the two and I am hoping that readers in Paris (or elsewhere) who may have more knowledge of the history of these two tailors will fill us in on them, once we have had a look at the second garment.
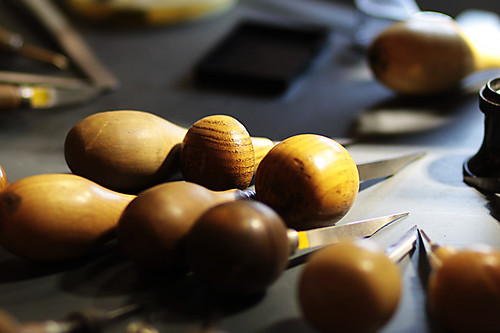
If you happen to be in Chicago, I highly recommend the Festival des métiers, or celebration of craftsmanship, going on at Hermès on Oak Street until Wednesday March 16 (right across the street from Despos *ahem*).
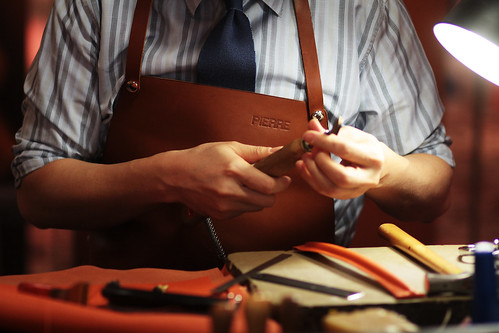
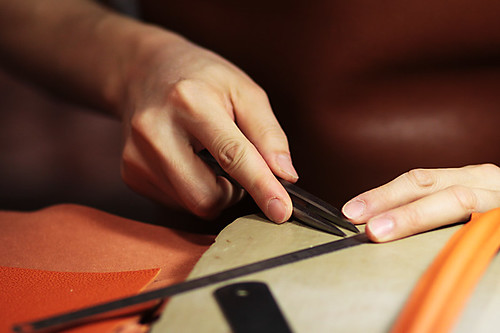
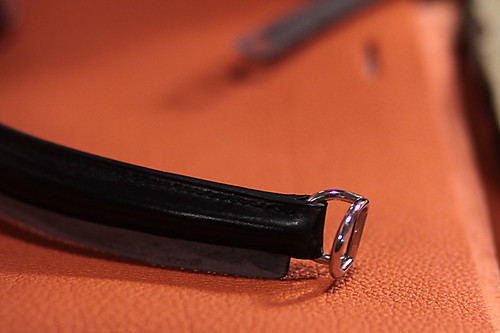
A craftsperson representing each of the product categories is on hand, making their product, largely by hand. A leatherworker sits making a Kelly bag, whose handle alone requires 4 hours of work, and 18 hours in all to hand-craft the bag. A cordwainer was on his lunch break when I was there.
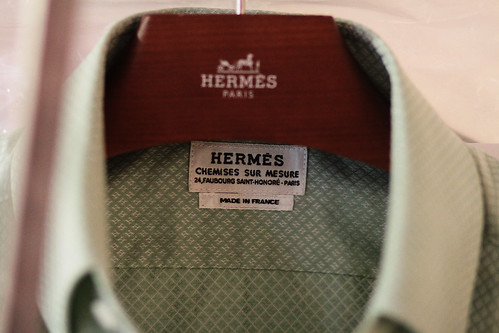
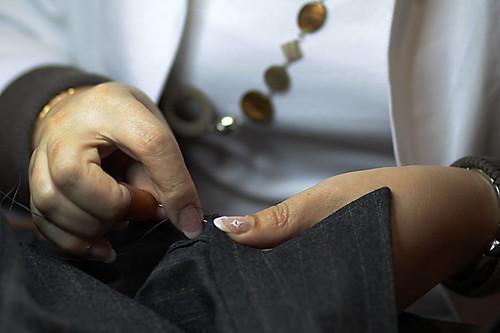
A watchmaker and a jeweler show how they operate, then I stopped to watch a shirt being hand-finished. Armholes, collar and buttonholes are hand done- the hand stitching around the armholes is so fine as to be invisible from the right side. When I asked if this was perhaps too delicate to be machine-washed I earned a look of utter disgust, the likes of which only the French are capable. Hand wash only, s'il-vous-plait.
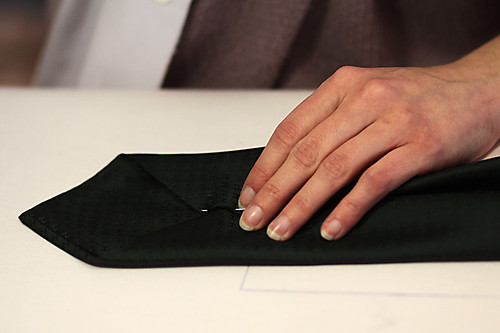
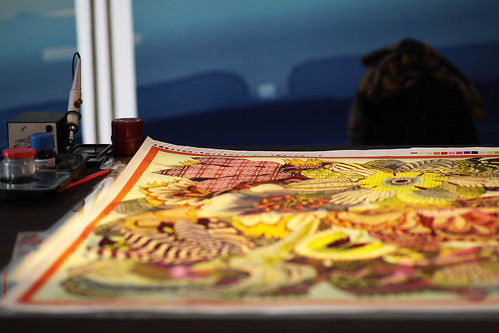
Also on hand was a tie-maker who was able to demonstrate the entire process. Then a print artist- the person who transforms a complete scarf design into the 30 to 40 colour plates required to screen-print each silk scarf. On average 400 hours and up to 1700 hours of work to hand-draw each screen. Then a demonstration of the screen-printing process which, by itself, was worth the price of admission. Which happened to be free. But still. I would happily have paid to see this.
It is also timely because I have, up until now, been focused almost entirely on English and Italian craftsmanship; the next few posts will instead focus on the French. Des Esseintes sent a surprising jacket made by Smalto, and CEGO's Carl Goldberg sent a trouser by Smalto and a jacket by Gilbert Feruch whose workmanship bears a striking resemblance to that of the Smalto. He also sent a shirt which had been custom-made for his father by Lanvin and whose workmanship is exceedingly fine. Alors pendant quelques semaines nous assisterons à un festival des métiers et de l'artisanat français.
In the meantime, a few images from my visit today.
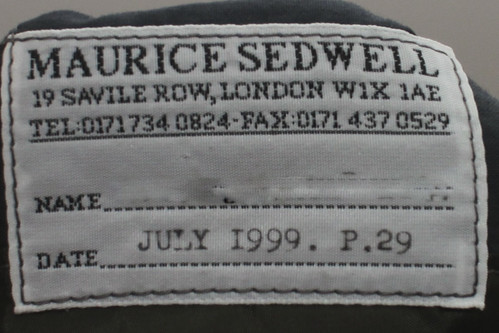
The latest sample I purchased on ebay thanks to a tip from RJMan.
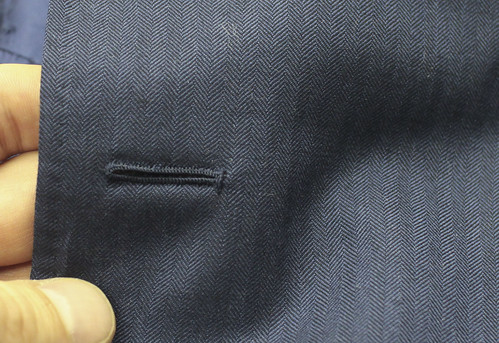
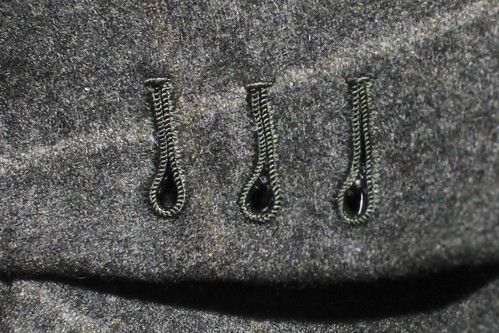
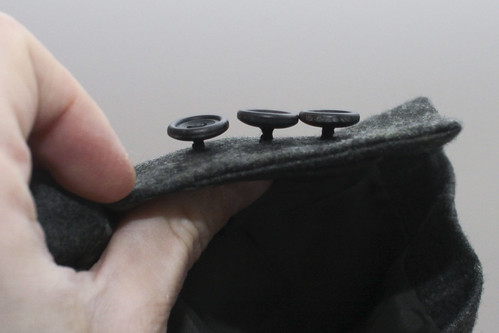
Maurice Sedwell enjoys an excellent reputation and its proprietor, Andrew Ramroop, is very keen on explaining the many reasons why. Of course, one of the first things I look at when examining a garment are the buttonholes and buttons, and these are very good. The buttons have been beautifully shanked and stand up to attention like a row of horn soldiers.
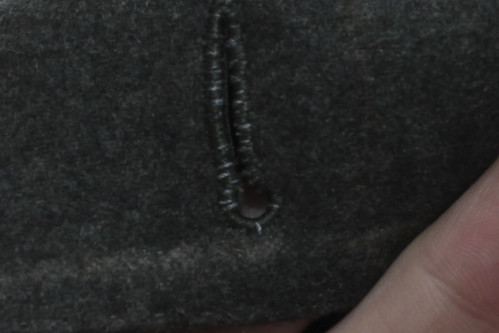
I noticed some light grey thread peeking through the underside of the buttonholes which I found a bit puzzling.
I unpicked one of them and found that the buttonhole had been meticulously overcast prior to working it up. Why they did it with light coloured thread is anyone's guess, but at least it was carefully done and does not show on the right side.
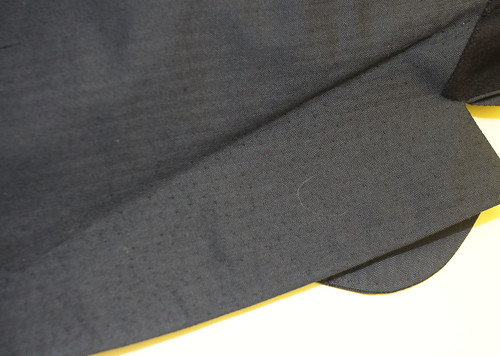
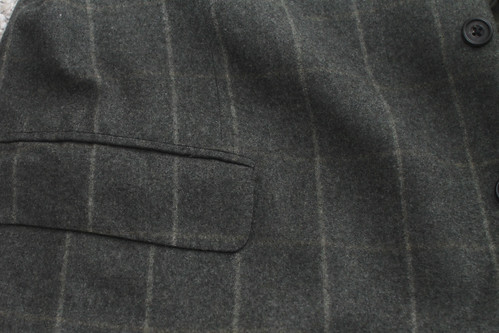
The way he has matched the flap to the coat is somewhat curious. Darts often distort the pattern above the pocket so it is most common to match the flap to the lower part of the coat. In this instance he has matched to the top part, behind the flap. I'm not a fan.
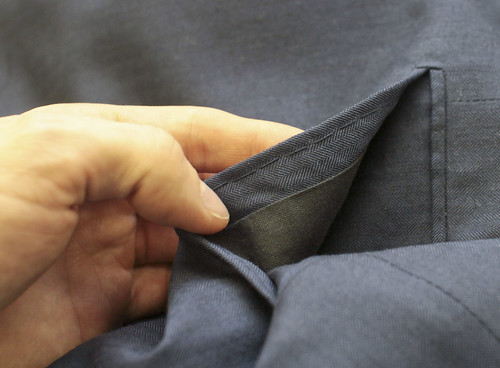
Inside the pocket, he has created a pleat which should help prevent the pocket gaping open when the owner shoves things in it.
The inside lining has marks that indicate the the garment has been altered so there may be a few question marks.
The lining itself has been inserted by hand, something which few West End tailors do anymore. It's been reasonably neatly done, far better than the Fallan and Harvey coat.
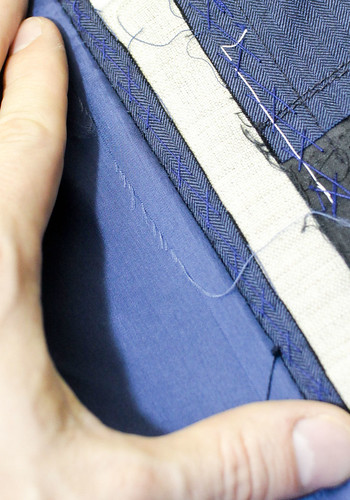
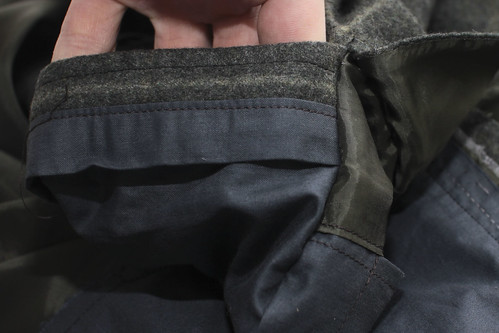
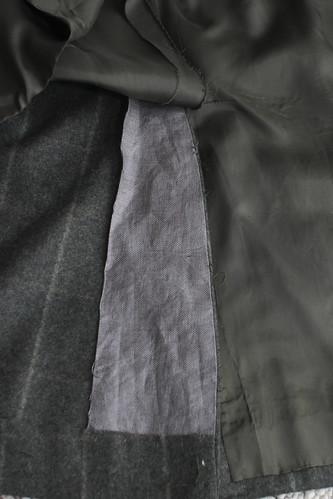
A piece of linen holland has been used to turn the edge of the undervent, however this was completely concealed by the lining.
The back hem has been reinforced with weft-insertion fusing.
Since the front hem has been done with linen holland, I think it is safe to assume that this was done by the alterations tailor.
It is no surprise that the chest, lapel and collar have all been padstitched by hand, and a piece of silesia has been laid over the lapel canvas prior to padstitching. The edges have been stayed with linen holland in a method that looks to me like the one used by canvas garment factories.
The facing has been applied by machine, and the linen is caught in that seam. I will have to unpick the tape to know for sure if he has done what factories now do.
And yes, there it is, the gap between canvas and seam.
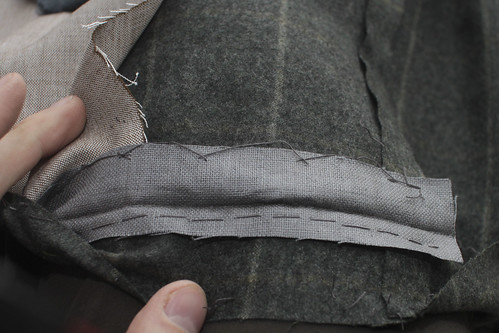
In order to reduce bulk in the edges, we trim away more canvas than is traditionally done. Once the front has been shaped (the excess cut away to the proper shape, leaving only the seam allowance of 3/16" or 1/4") we trim away the canvas not to the seam line as used to be the method, but double the value of the seam. For example, if the seam allowance is 1/4" we will trim 1/2" of canvas away. We sew at 1/4" then turn the seam allowance inside to fill the gap between edge and canvas. The tape is caught in the seam which will prevent the canvas from moving. This technique is most useful on very fine cloth where the added thickness of the canvas at the very edge is not to be desired.
Back to Savile Row.
There is needle-punch foam in the sleevehead, similar to what is used by manufacturers, and the shoulder pad is prefab. The sleeves have been set by machine, and the shoulder seam has been sewn by machine. It's becoming increasingly clear that the number of people who think that it is necessary to do these steps by hand are a distinct minority.
When I got to the chest I could tell that there is only one layer of wrapped hair hymo in the chest, rather than proper haircloth so I didn't go to the trouble of unpicking it all. I have very mixed feelings about this. On the one hand, it is much softer than haircloth and if the customer wanted something very soft, then it's not a bad choice. However I would still have put a haircloth (or even hymo) reinforcement in the shoulder, and there is none. There may be a reason for this as well, which we will never know.
So is Maurice Sedwell the best on Savile Row? Inconclusive. This is certainly the best Savile Row garment that I have handled but one can't make sweeping generalizations based on a handful of garments. Were I in the market for a tailor in London's west end, I would certainly call on Mr. Ramroop to have a chat.







 Posts
Posts



