Following up from the previous post, and because someone on Ask Andy asked for it, here's a quick tutorial on sewing buttons on a suit. It's a little different from sewing buttons on a shirt.
Mark your button placement, make a large knot in a length of thread, thread the needle and insert it between the layers, 3/4" away from the mark, and come out at the mark.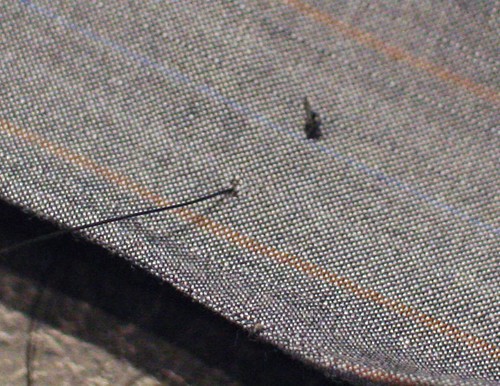
Take a small stitch, forming a loop, and insert the needle through the loop (making a knot). Pull tight and repeat.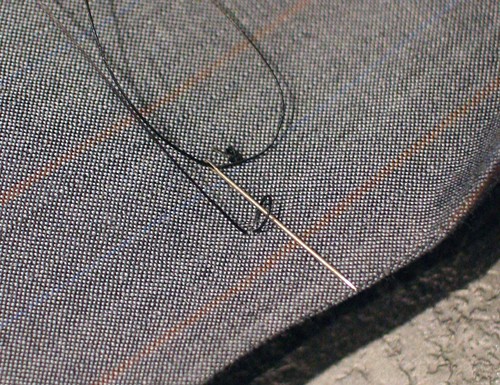
Pull on the big knot (the one 3/4" away from the button mark), bunching the fabric and clip off the knot- the thread tail will slip between the layers and be hidden. This way the end will not slip and loosen by accident.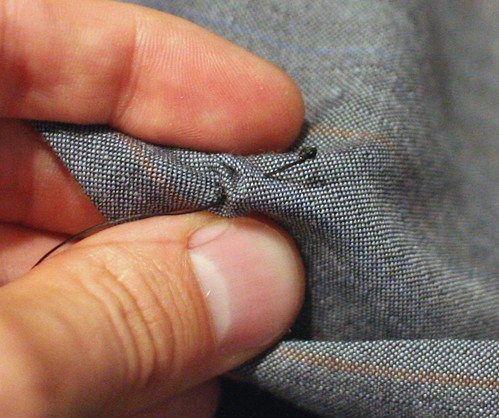
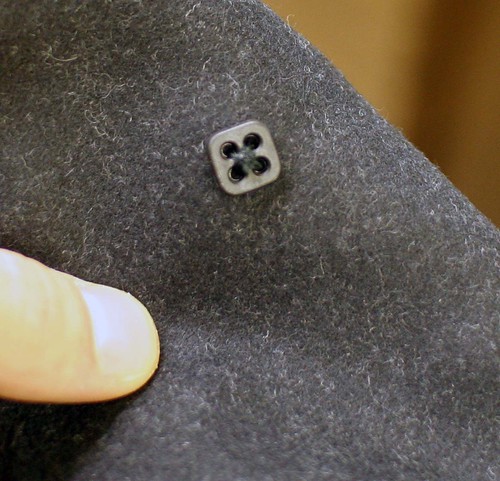
Insert the needle through one of the holes in the button, hold the button against the coat, and place a match or similar device over the button. Take a stitch across the match, into the coat, coming back up through the button. Repeat several times through each hole.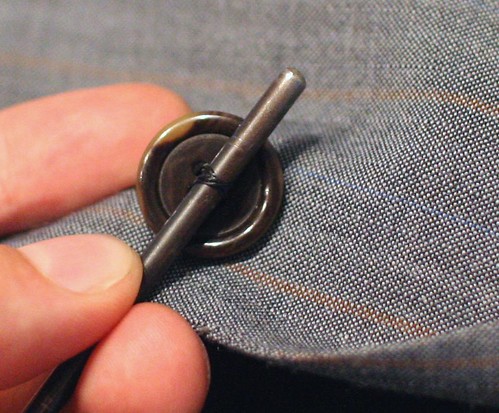
Remove the match and pull the button away from the coat. Wrap the thread tightly around the shank that has been formed until the button stands up on its own. Insert the needle through the base of the shank, make a small loop to knot like when starting, pull tight and repeat twice.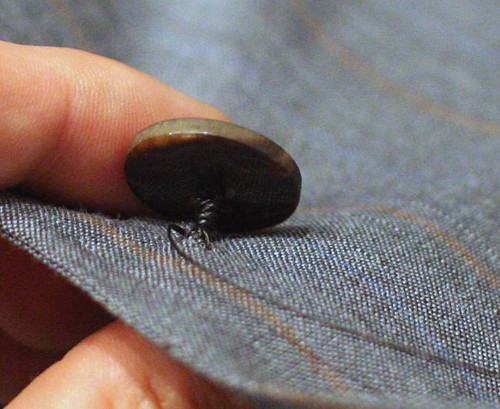
Insert the needle into the base of the shank, between the layers of cloth, and come out 3/4" away from the button.
Pull tight, then clip the thread close to the cloth so that the tail will slip between the layers of cloth.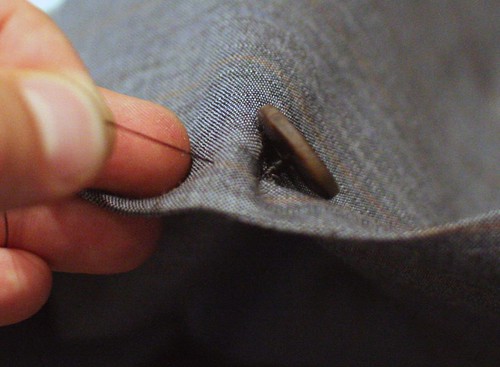
The shanked button should stand firmly like this; if it is at all loose, remove and redo it.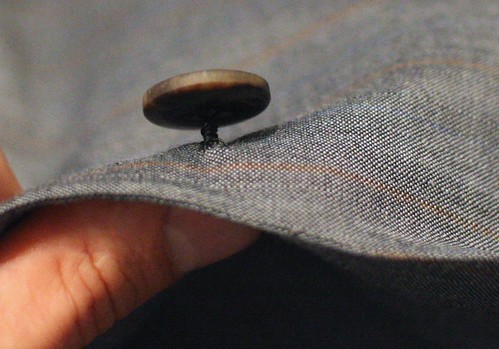
In response to Jordan's question, I don't like plugging buttons which involves making a hole in the cloth. Overcoat buttons are done the same way as regular buttons, but I put a stay button behind them- this prevents the button from ripping out and making a hole when subjected to a lot of strain. Instead of just catching the cloth when taking the stitch, go all the way through and sew through the stay button on the reverse side. 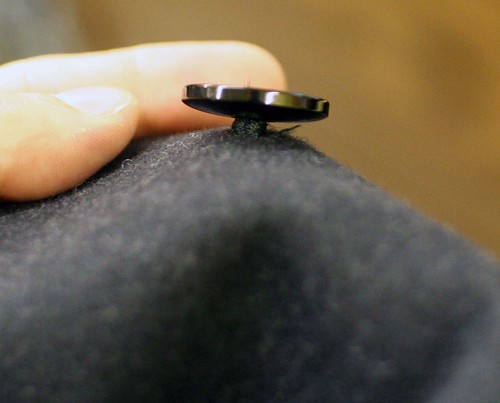
Metal buttons can also benefit from a stay since they are sometimes heavy, and often expensive. I occasionally make golf blazers with the club crest and club buttons. These buttons come as a set in a fancy jewel-type box with velvet padding and losing one is not a good idea. A stay prevents damage to the cloth and prevents them ripping out. To get them to stand up straight instead of looking limp and droopy, use a heavy waxed thread size 8/3 (40) or bigger. Since they already have a shank you don't need to make a new one, just make sure your stitches are firm and you wrap tightly enough that the buttons stand but not so tightly that you make the cloth pull.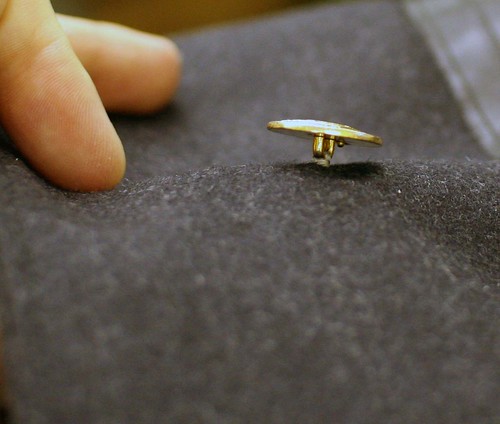
In response to Lynn's question, I am using a size 4 glazed thread made especially for sewing on buttons. Gutermann's M1003 which is available at retail (their heaviest stuff), would work if it were waxed and pressed.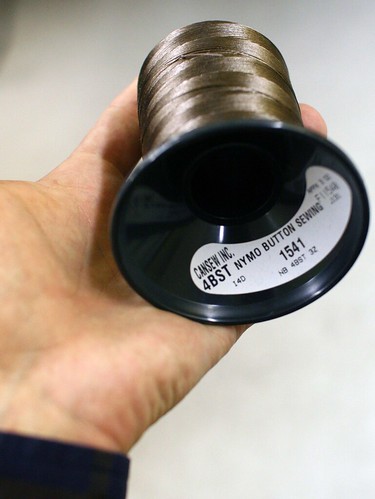


11 comments:
Well-explained and beautifully illustrated! As a second act to Sewing Buttonholes By Hand, might How To Sew A Button On A Suit be followed by a third act entitled Sewing And Plugging Heavy Buttons On A Blazer/Reefer Or Overcoat?
What type and size of thread are you using, and is it waxed? Thank you.
My mistake for calling a stay button a plug. More importantly, thank you for putting up the photos and explanation of sewing a stay button properly. With heavy convex or domed buttons on a blazer/reefer, the kind you find at Tender Buttons in Manhattan, it's important that they standup straight rather than droop.
Happy Thoughts,
Jordan
Thanks for the wonderful instructions. Helped me fix up an old favorite blazer.
Excellent... if only I had the confidence. Tailor!
There's only one thing I need to know: how do I know exactly where to place the buttons? I always place them too high or low, to the left or right.... I have a nice wool overcoat which the manufacturers left hanging on threads - no shank at all. There are little buttons on the other side. Ralph Lauren but made in China. I guess the buttons explains the discounted price!
(A print version would be really great too!)
Finally! I knew there had to be some special technique. Thank you so much!
Are you going through the canvas layer or just the top fabric layer?
@Nicholas- I am going through the canvas layer, and just catching the facing.
Thanks for the easy to follow instructions!!! I used a bodkin instead of a match, which made the shank just a tad too short (couple of mm), but other that, it worked well.
This is very helpful information about sewing on suit buttons.
Post a Comment